About Swift Package Manager
The Swift Package Manager is the tool used to build Applications and Libraries. it streamlines the process of managing multiple Modules & Packages. Before we go ahead and learn to use Swift Package Manager we need to get familiar with some basic terminology.
Modules
Modules are used to specify a namespace and used to control access to that particular piece of code. Everything in Swift is organised as a module. An entire app can fit into a module or an app can be made using multiple modules. The fact that we can build modules using other modules means that reusing code becomes a lot easier. So, when we make an iOS App with Xcode and Swift. The entire app is considered a single module.
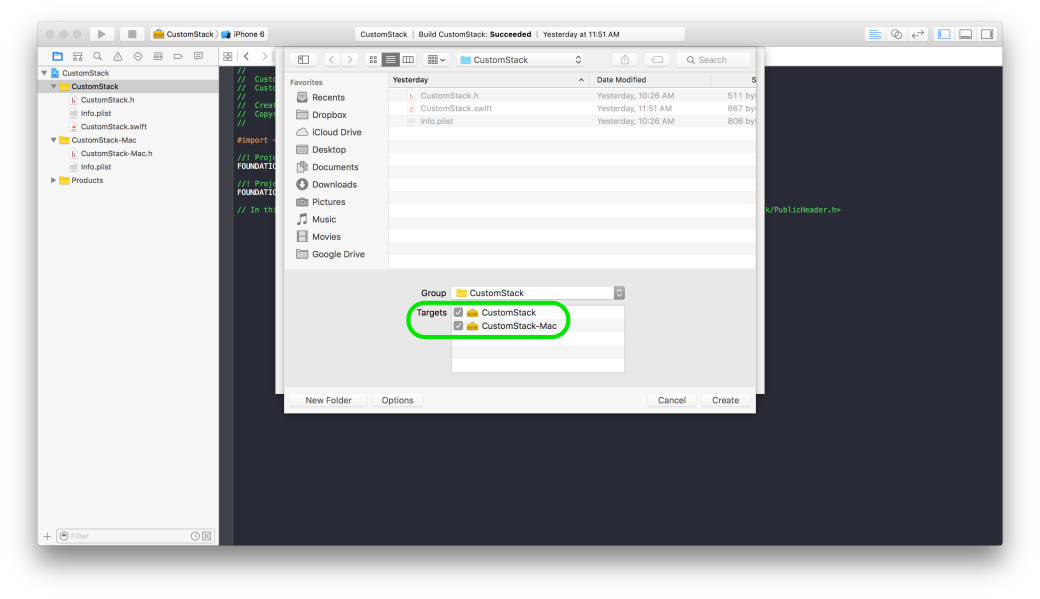
Targets
Targets are the end product that we want to make. So an app for iOS is a separate target. A library is a target. An app for macOS is a separate target. You can have many targets. Some can be for testing purposes only.
Packages
Packages group the necessary source files together. A package can contain more than one target. Normally one would create a package for a family of products. For example: you want to make a photo editing app that runs on macOS & iOS. You would create one package for it. That package would have 2 targets: an iOS App & a macOS App.
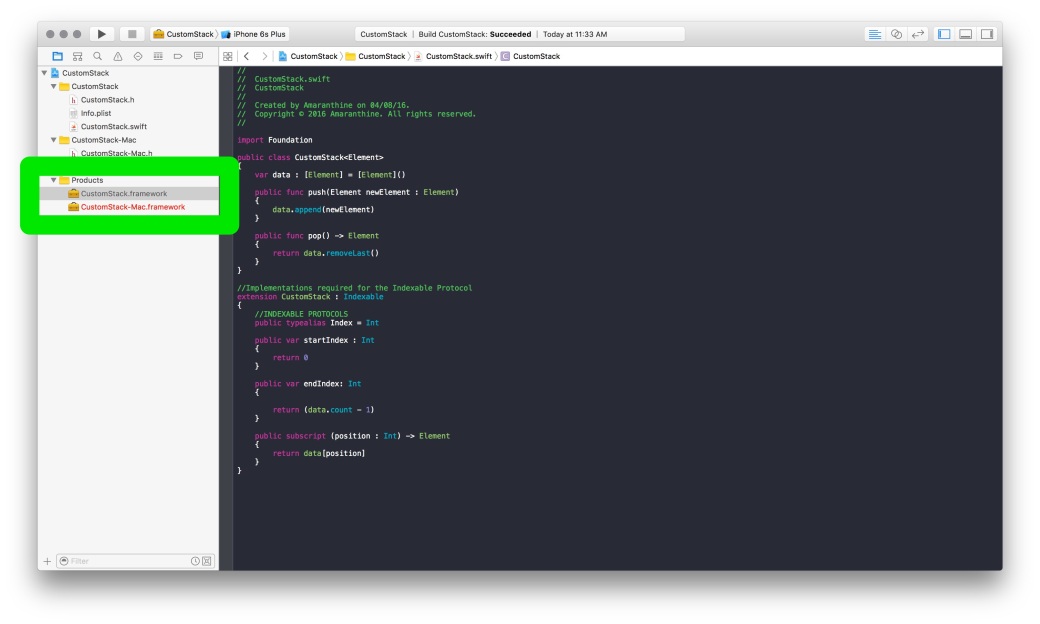
Products
This is a categorisation of your packages. There are 2 types of products. Executables or Libraries. A library contains the module which can be reused elsewhere. Executables are application that run & may make use of other modules.
Dependencies
Dependencies are the modules or the pieces of code that are required to make the different targets within the package. These are normally provided as URLs.
End Products
*NOTE: Before you get started you must be familiar with Setting up Swift on Linux. If you haven’t done that then please go through the updated article: UPDATE: Swift on Linux. This also makes use of Swift Package Manager.
Example
So let us get started with an example. We are going to learn how to create:
- a library package called ErrorTypes
- a library package, called MathOperations, that uses the ErrorTypes library package
- an executable package called Calc that makes use of the MathOperations package.
We will see how to create all three elements. Also I have uploaded the ErrorTypes & MathOperations packages to the http://www.github.com repository to demonstrate the use of dependencies. You can also create your own local git repositories if you wish.
To illustrate the folder hierarchy: I have created a folder called “Developer” in my Ubuntu linux home folder. Within that I have created a folder called “SPMDEMO“. All the paths that I will be using will be with reference to these folders. You should see a structure like this:
/home/admin/Developer/SPMDEMO/ErrorTypes
/home/admin/Developer/SPMDEMO/MathOperations
/home/admin/Developer/SPMDEMO/Calc
You are free to follow this exercise using your own folder locations. Just modify the paths accordingly.
swift package init
swift package init --type executable
swift build
If you need help with the commands run:
swift package --help
swift --help
Creating a Package
- First let us start off by creating the ErrorTypes package.
mkdir ErrorTypes
- Navigate to the folder and create the package:
-
cd ErrorTypes
swift package init
By default init will create a library package type.
- Navigate to the folder containing the source files:
cd ./Sources/ErrorTypes/
- Open the ErrorTypes.swift file and write the following code
public enum ErrorCodes : Error
{
     case FileNotFound(String)
     case DivideByZero(String)
     case UnknownError(String)
}

public struct MathConstants
{
     static let pi : Float = 3.14159
     static let e  : Float = 2.68791
}
Feel free to add some code of your own. The above is just an example.
- Run the command to build to make sure that there aren’t any issues. You shouldn’t have any as there are no dependencies of any kind. Its a simple straightforward piece of code.
swift build
- If everything is fine check your code into a git repository. This can be local or on the web. Remember that we will need the URL to this repository.
- Navigate back to the SPMDEMO folder.
cd ~/Developer/SPMDEMO/
- Create a folder called MathOperations.
mkdir MathOperations
- Navigate to the newly created folder and run the command to create a library package.
cd MathOperations
swift package init
- Navigate to the sources folder:
cd ./Sources/MathOperations/
- Open the MathOperations.swift file and write the following code.
import ErrorTypes public struct MathOperations { public static func add(Number num1 : Int, with num2 : Int) -> Int { return num1 + num2 } public static func mult(Number num1 : Int, with num2 : Int) -> Int { return num1 * num2 } public static func div(Number num1 : Int, by num2 : Int) throws -> Int { guard num2 > 0 else { throw ErrorCodes.DivideByZero("You are dividing by zero. The second argument is incorrect.") } return num1 / num2 } public static func sub(_ num1 : Int, from num2 : Int) -> Int { return num2 - num1 } } - Before we build we need to modify the Packages.swift file to indicate there is a dependency.
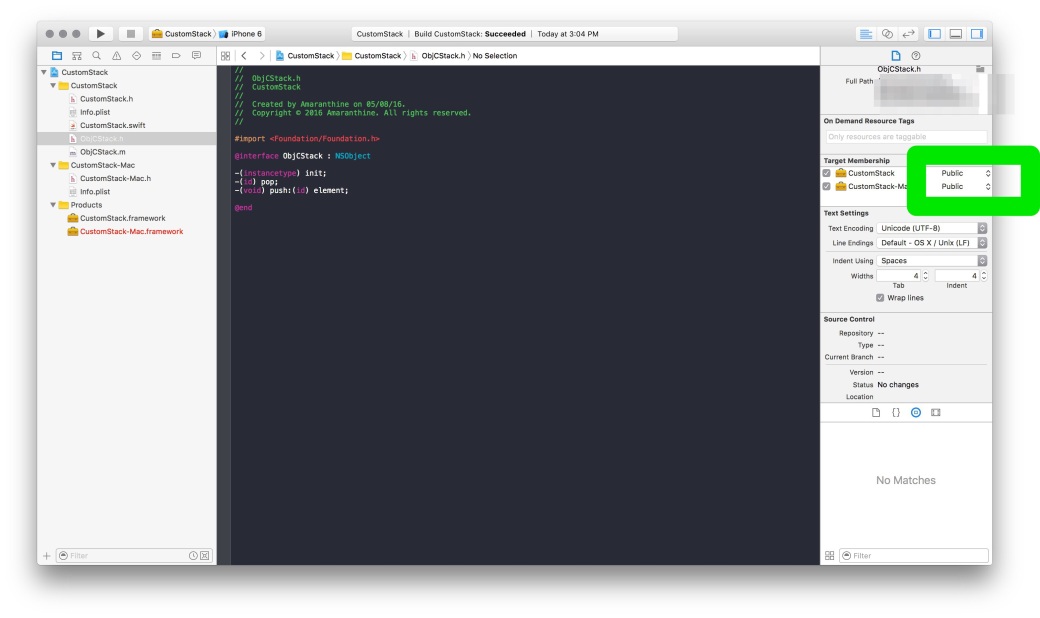
Notice that in the MathOperations.swift file we are importing a module called ErrorTypes. We just created it. But just because we created it doesn’t mean it will be added automatically. We need to pull that module into our ownAlso notice that I have provided access specifiers “public” everywhere. This ensures that the code written in one module is accessible in the other.
Navigate to the MathOperations parent folder.
cd ~/Developer/SPMDEMO/MathOperations/
- Open the Packages.swift file and make the changes as shown below:
// swift-tools-version:4.0 // The swift-tools-version declares the minimum version of Swift required to build this package. import PackageDescription let package = Package(name: "MathOperations", products: [ // Products define the executables and libraries produced by a package, and make them visible to other packages. .library(name: "MathOperations", targets: ["MathOperations"]), ], dependencies: [ // Dependencies declare other packages that this package depends on. .package(url:"https://github.com/AmaranthineTech/ErrorTypes.git", from:"1.0.0"), ], targets: [ // Targets are the basic building blocks of a package. A target can define a module or a test suite. // Targets can depend on other targets in this package, and on products in packages which this package depends on. .target(name: "MathOperations", dependencies: ["ErrorTypes"]), .testTarget(name: "MathOperationsTests", dependencies: ["MathOperations"]),] ) - Once these changes are made save the file and run the command
swift build
If you typed everything correctly then you should see the source code for the ErrorTypes module being pulled in and the build being successful.Here are some common mistakes:
– Forgetting to write the import ErrorTypes statement
– Error in the URL
– The from tag not matching the tag in the repository
– Access specifiers are incorrect or missing
– Not mentioning the dependencies in the target - Just like with the ErrorTypes module create a git repository for the MathOperations module.
- Now let us make the Calc executable that will use the MathOperations library. First navigate back to the SPMDEMO folder and create a folder called Calc.
cd ~/Developer/SPMDEMO/
mkdir Calc
- This time we are going to create an executable package. Run the command:
swift package init --type executable
This also creates a similar folder structure as in the case of the library.
- Navigate to the folder containing the main.swift file.
cd ./Sources/Calc/
- Modify the main.swift file as shown below:
import MathOperations //testing addition var result : Int = MathOperations.add(Number: 33, with: 29) print("Result of adding 33 with 29 is: \(result)") //testing multiplication result = MathOperations.mult(Number: 33, with: 29) print("Result of multiplying 33 with 29 is: \(result)") //testing division do { result = try MathOperations.div(Number: 33, by: 0) print("Result of dividing 33 by 29 is: \(result)") } catch let error { print("ERROR: \(error)") } //testing subtraction result = MathOperations.sub(3, from: 29)print("Result of subtracting 3 from 29 is: \(result)") - Navigate back to the main Calc folder.
cd ~/Developer/SPMDEMO/Calc/
- Modify the Packages.swift file as shown below:
// swift-tools-version:4.0 // The swift-tools-version declares the minimum version of Swift required to build this package. import PackageDescription let package = Package(name: "Calc", dependencies: [ // Dependencies declare other packages that this package depends on. .package(url: "https://github.com/AmaranthineTech/MathOperations.git", from: "1.0.1"), ], targets: [ // Targets are the basic building blocks of a package. A target can define a module or a test suite. // Targets can depend on other targets in this package, and on products in packages which this package depends on. .target(name: "Calc", dependencies: ["MathOperations"]), ] ) - Save the file and run the build command:
swift build
- Like before you should see both the MathOperations & ErrorType module being pulled in. We are ready to run the executable. Navigate to the debug folder which contains the executable. Make sure you are in the main Calc folder when you run this command.
cd ./build/debug/
- You should see an executable file called Calc. Run it.
./Calc
- If everything went okay then you should see the output on the console.
As you can see it is pretty straightforward to develop Applications written in Swift on Linux.
Adding System Modules
In the previous example we saw how to import our own custom made modules. However, there are some modules provided by the system which offers functionality we may wish to use. For example if we wanted to use the random number generator in our application we would need to use the random() method. This is in the glib module.
- Quickly create a package called SystemLibs. This is an executable.
- Write the following code in the main.swift.
#if os(Linux) import Glibc #else import Darwin.C #endif extension Int { func toString() -> String { return "\(self)" } } var luckyNumber : Int = Int(random()) var luckyNumberStr : String = luckyNumber.toString() print("The lucky number is \(luckyNumberStr)") - Build the code and run the executable.
Adding system modules is direct and simple. The glibc module contains aspects of the standard library. The condition check is to make sure that we are importing the correct module based on the system that we are developing the application on.
Handling Sub-dependencies
As we saw in the earlier example, sub dependencies are handled automatically. So when our Calc application marked the MathOperations module as a dependency it was pulled during the build. However, the MathOperations module itself marked ErrorTypes module as a dependency. We did not have to modify the Packages.swift file belonging to Calc to indicate that ErrorTypes module also needs to be pulled. This was handled automatically by Swift Package Manager.
Conclusion
In this article we have seen:
- How to create a library package
- How to create a library package that depends on another library package
- How to create an executable that depends on a library package
- How to import the system Glibc module into our executables.
The Swift Package Manager simplifies many aspects of the development process for us. Many of the things we have discussed also work on macOS. Going forward reusing code and planning for the same should be done keeping Swift Package Manager in mind.