This article is more of a productivity article aimed at getting first time users up and running quickly on their Mac, iPhones or iPads. Anyone looking to buy one of these products or Tech Support teams that help employees with their computers would find this article helpful. The thoughts shared here are personal, readers are welcome to share their own thoughts and experiences.
The article is not a comprehensive guide. Its aim is to give potential users some idea as to how the devices can be used in their work environment. Specifically from an Application perspective.
Macintosh
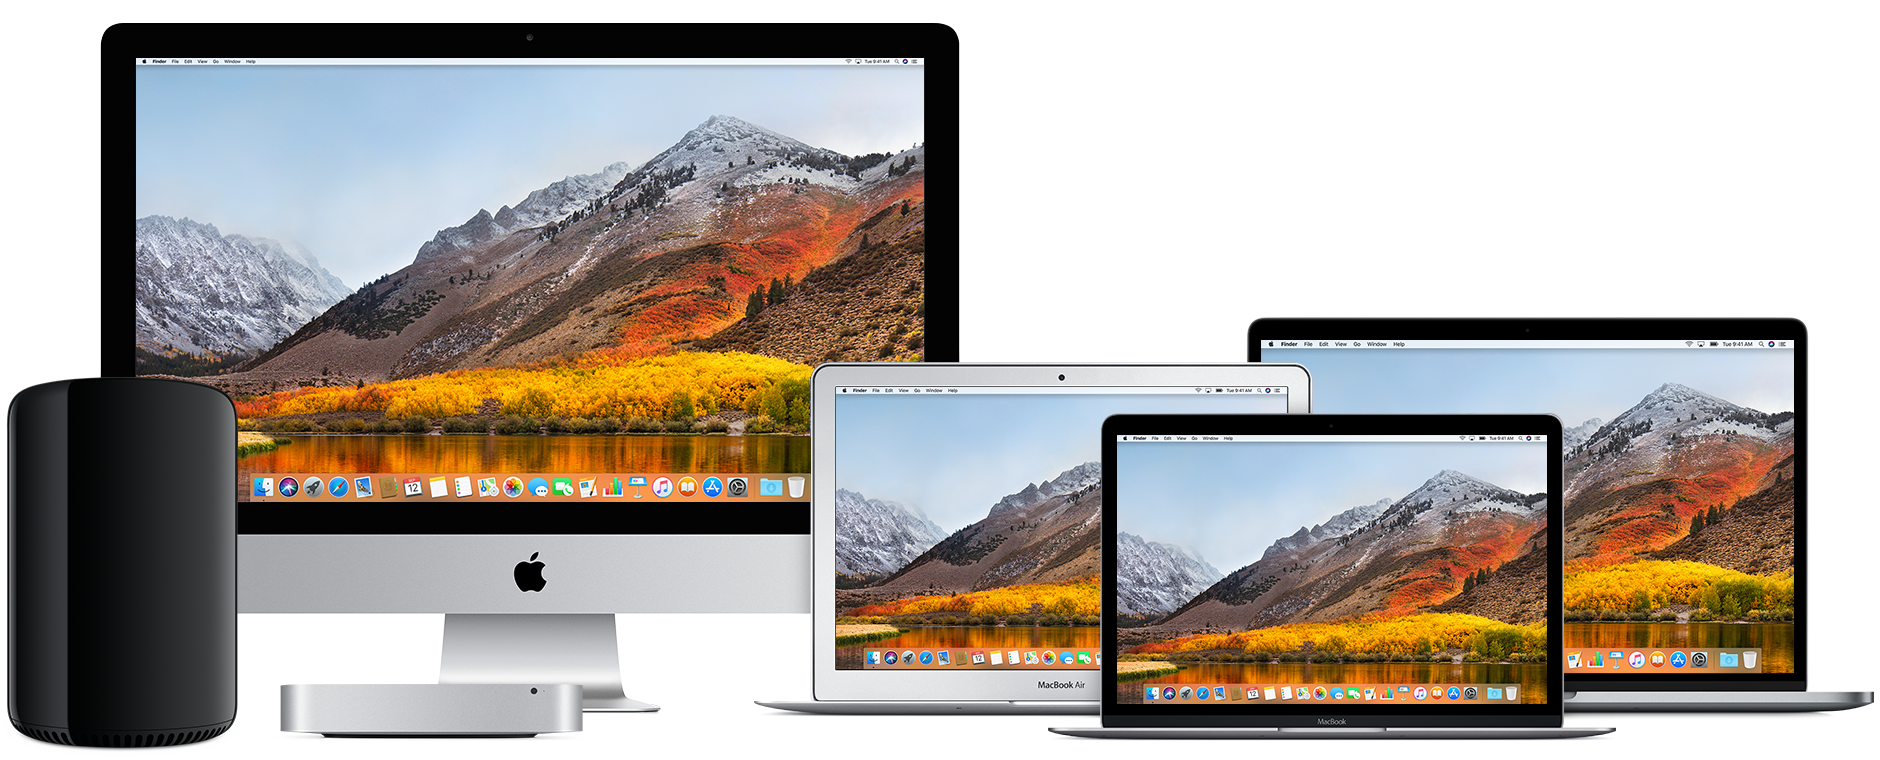
Which one to buy?
This depends on how the device is going to be used. Here are 3 general classifications:
Basic Usage
Basic usage would mean simple day to day tasks. These are the tasks that would qualify for:
- Checking emails
- Browsing the web
- Social Media
- Listening to Music
- Watching Movies
- Composing letters
- Preparing Presentations & running presentations
- Note taking
In such a case you may want to consider buying a MacBook or a MacBook Air. If portability is not required then a Mac Mini would also do.
At entry level configurations these devices would do the job very well.
Intermediate Usage
If the tasks being performed are a little more demanding then you may want to consider higher configuration devices. Again in most cases the MacBook or a MacBook Air would do. If portability is not required then a Mac Mini would also do. In all these cases consider one with slightly higher configuration.
For situations where the compute power is important you may even consider the MacBook Pro. For example, if there are programmers who need to work with a high configuration Mac and they need portability, then you can consider the MacBook Pro.
Pro Usage
This indicates that the tasks being performed are very compute intensive. These are some of the job profiles which may demand compute intensive resources:
- Programmers
- Video Editors
- Audio Editors
- Post Production Teams
- Marketing & Creative Teams
- Scientific Research
For such situations the higher end desktops & MacBook Pros would be required. So the iMac or the highest configuration Mac Mini, or the 15″ MacBook Pro would be best suited for such environments.
In some situations even more powerful computers would be required. The iMac Pro & Mac Pro should then be considered.
Built In Applications that might be useful
Productivity Tools
There are 3 applications which are a part of the suite called iWork that are very useful in organisations.
- PAGES: Built in word processing application. You can easily created documents, letters, reports and even have them exported in Microsoft Office compatible format.
- KEYNOTE: Built in presentation applications. Enables you to create powerful presentations from scratch. Like Pages it is possible to create presentations that are compatible with PowerPoint.
- NUMBERS: Built in spreadsheet application. Enables you to quickly create spreadsheets and export them to Excel if needed.
The other advantage is the fact that these applications are also accessible from the cloud. Tight integration with iCloud means that you can make changes to documents from your Mac, iPhone, iPad, or iCloud.com.
Creative Tools
There are 2 applications which are available for creative purpose. These might be handy for people working in the creative departments.
- IMOVIE: Quick create movies using videos, audios and photos that you have.
- GARAGEBAND: A simple Music creation application that comes with a library of different instruments.
Popular Third Party Applications
These are just some of the applications.
Office Suite
Productivity
Cloud
Creative
Security
Communication
Data Backup
Virtualisation (Running Windows or Windows Applications on the Mac)
Some tasks that can be done with built in Applications
- Scanning Documents using Preview
- Signing Documents using Preview
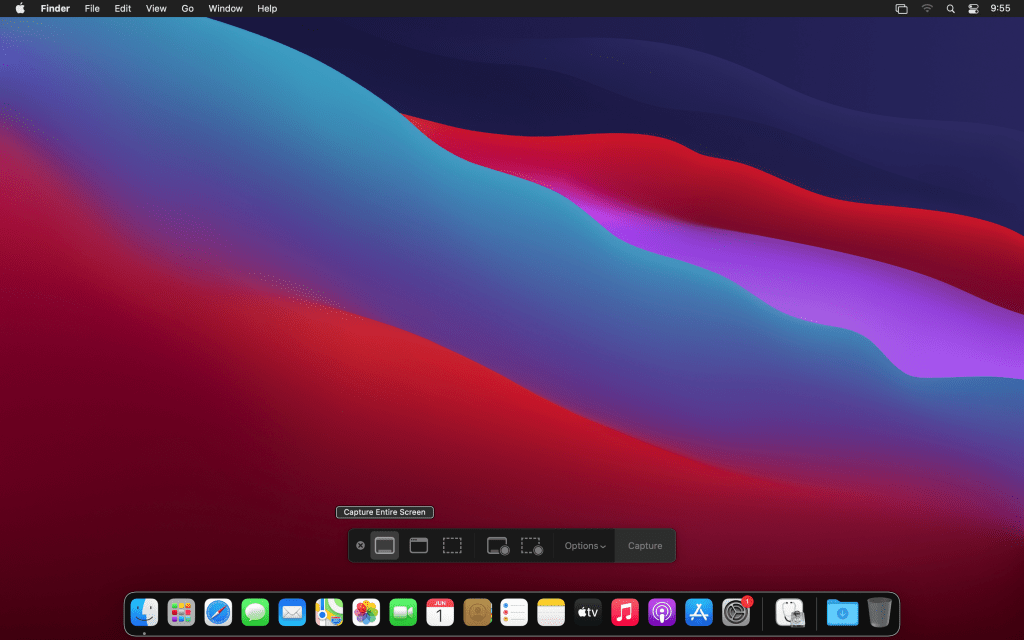
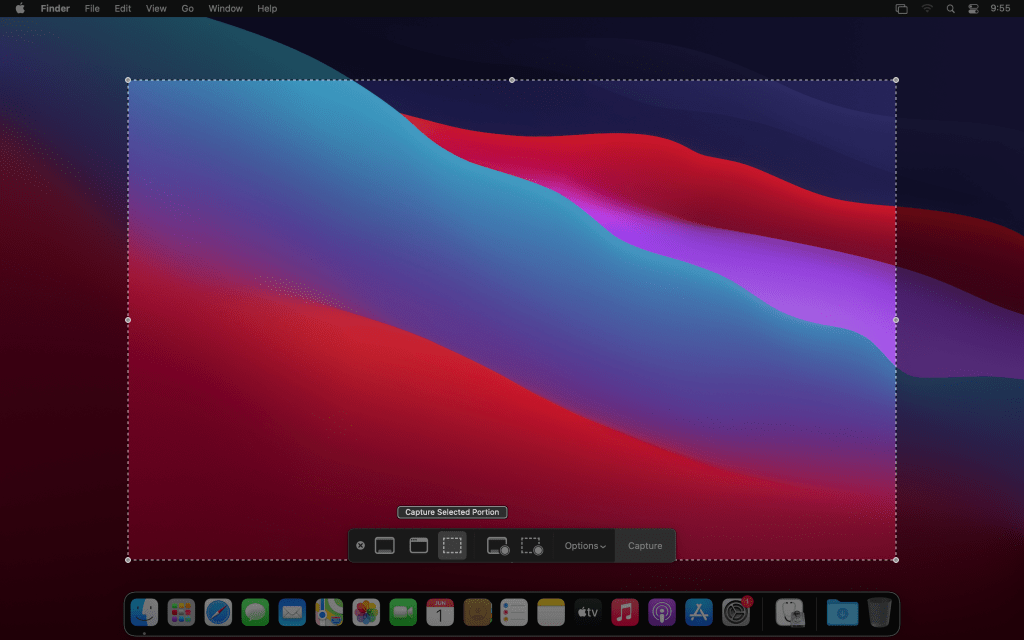
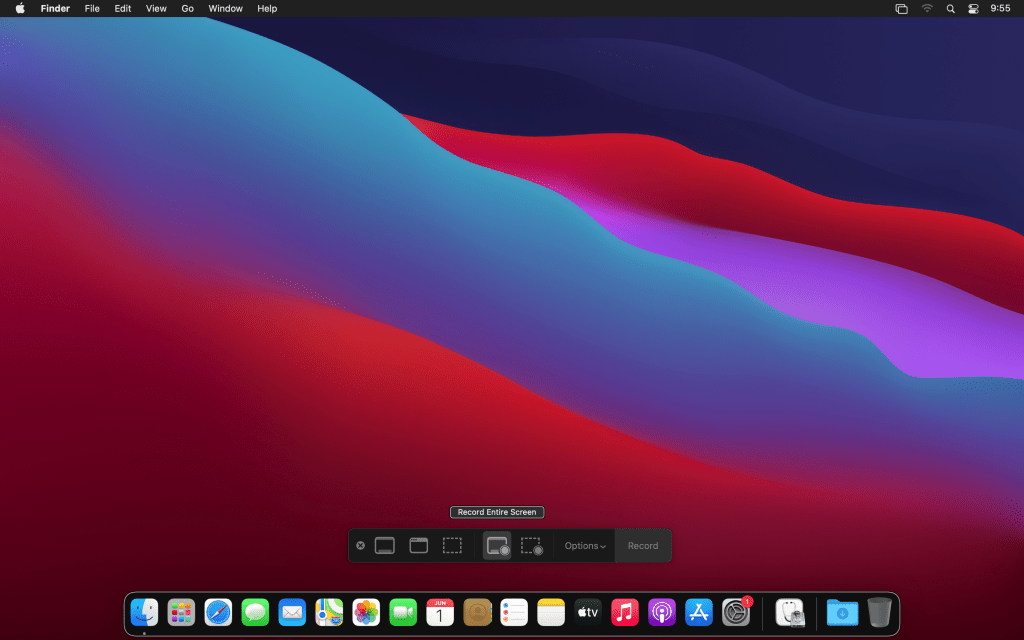
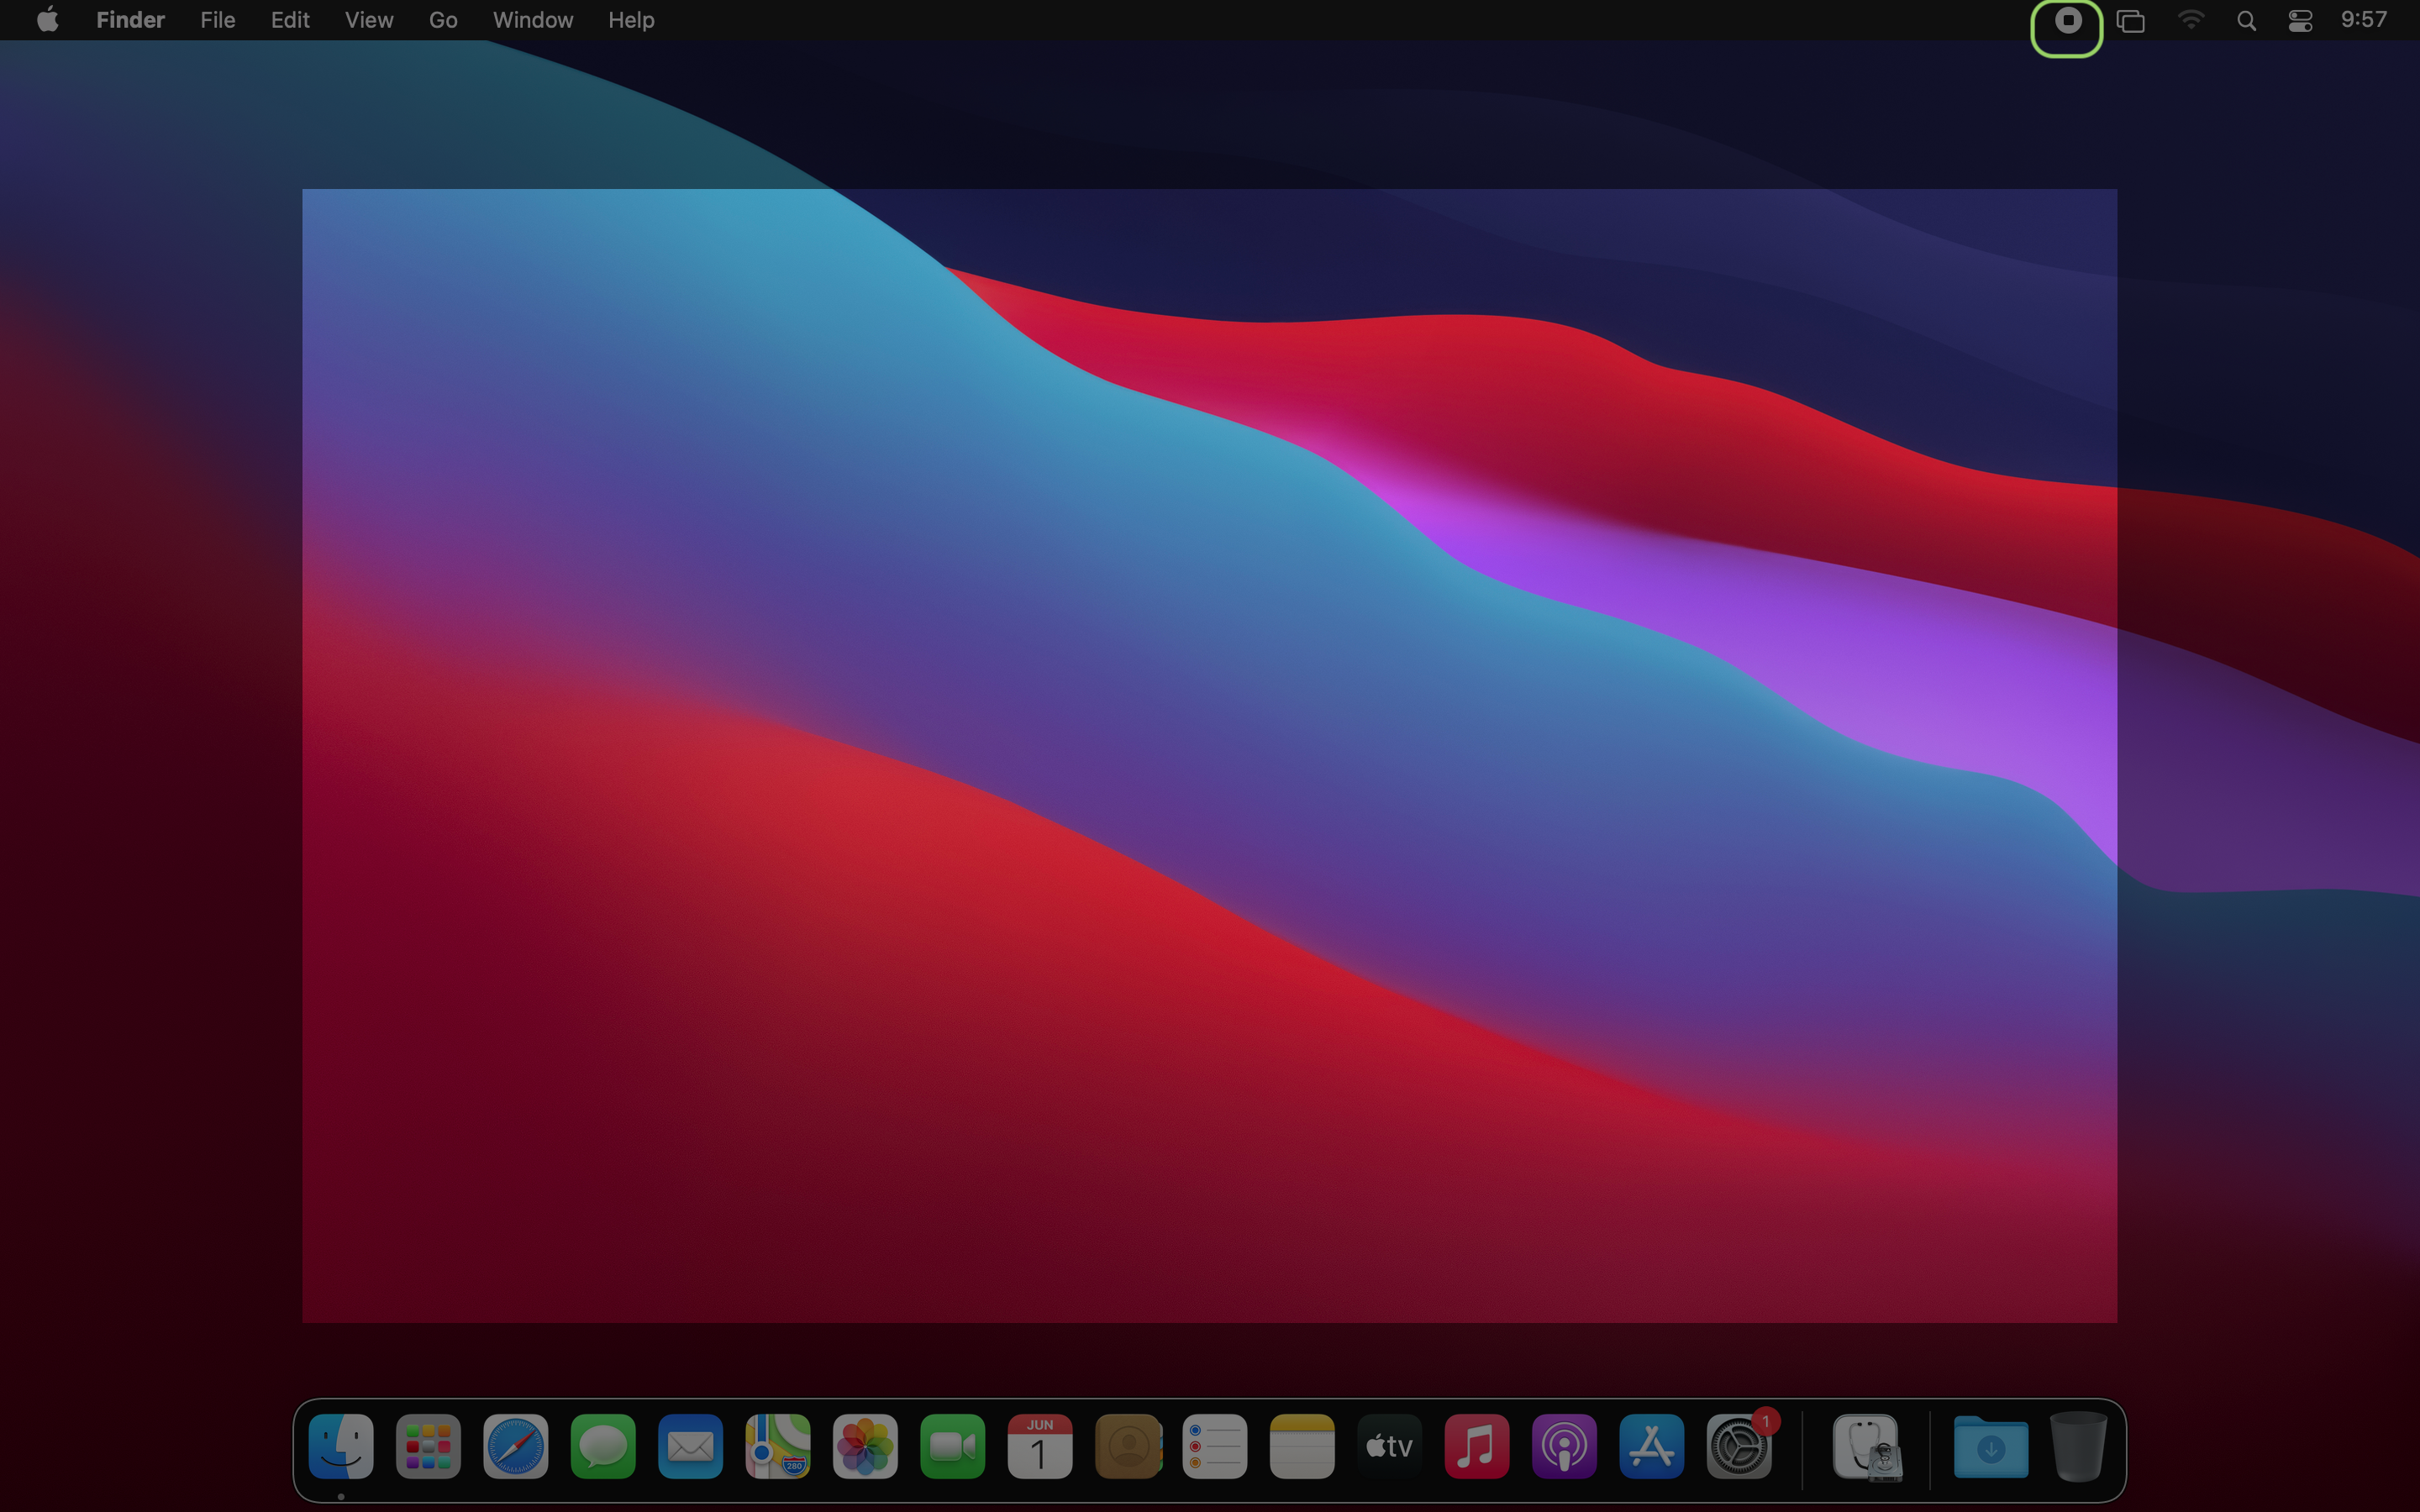
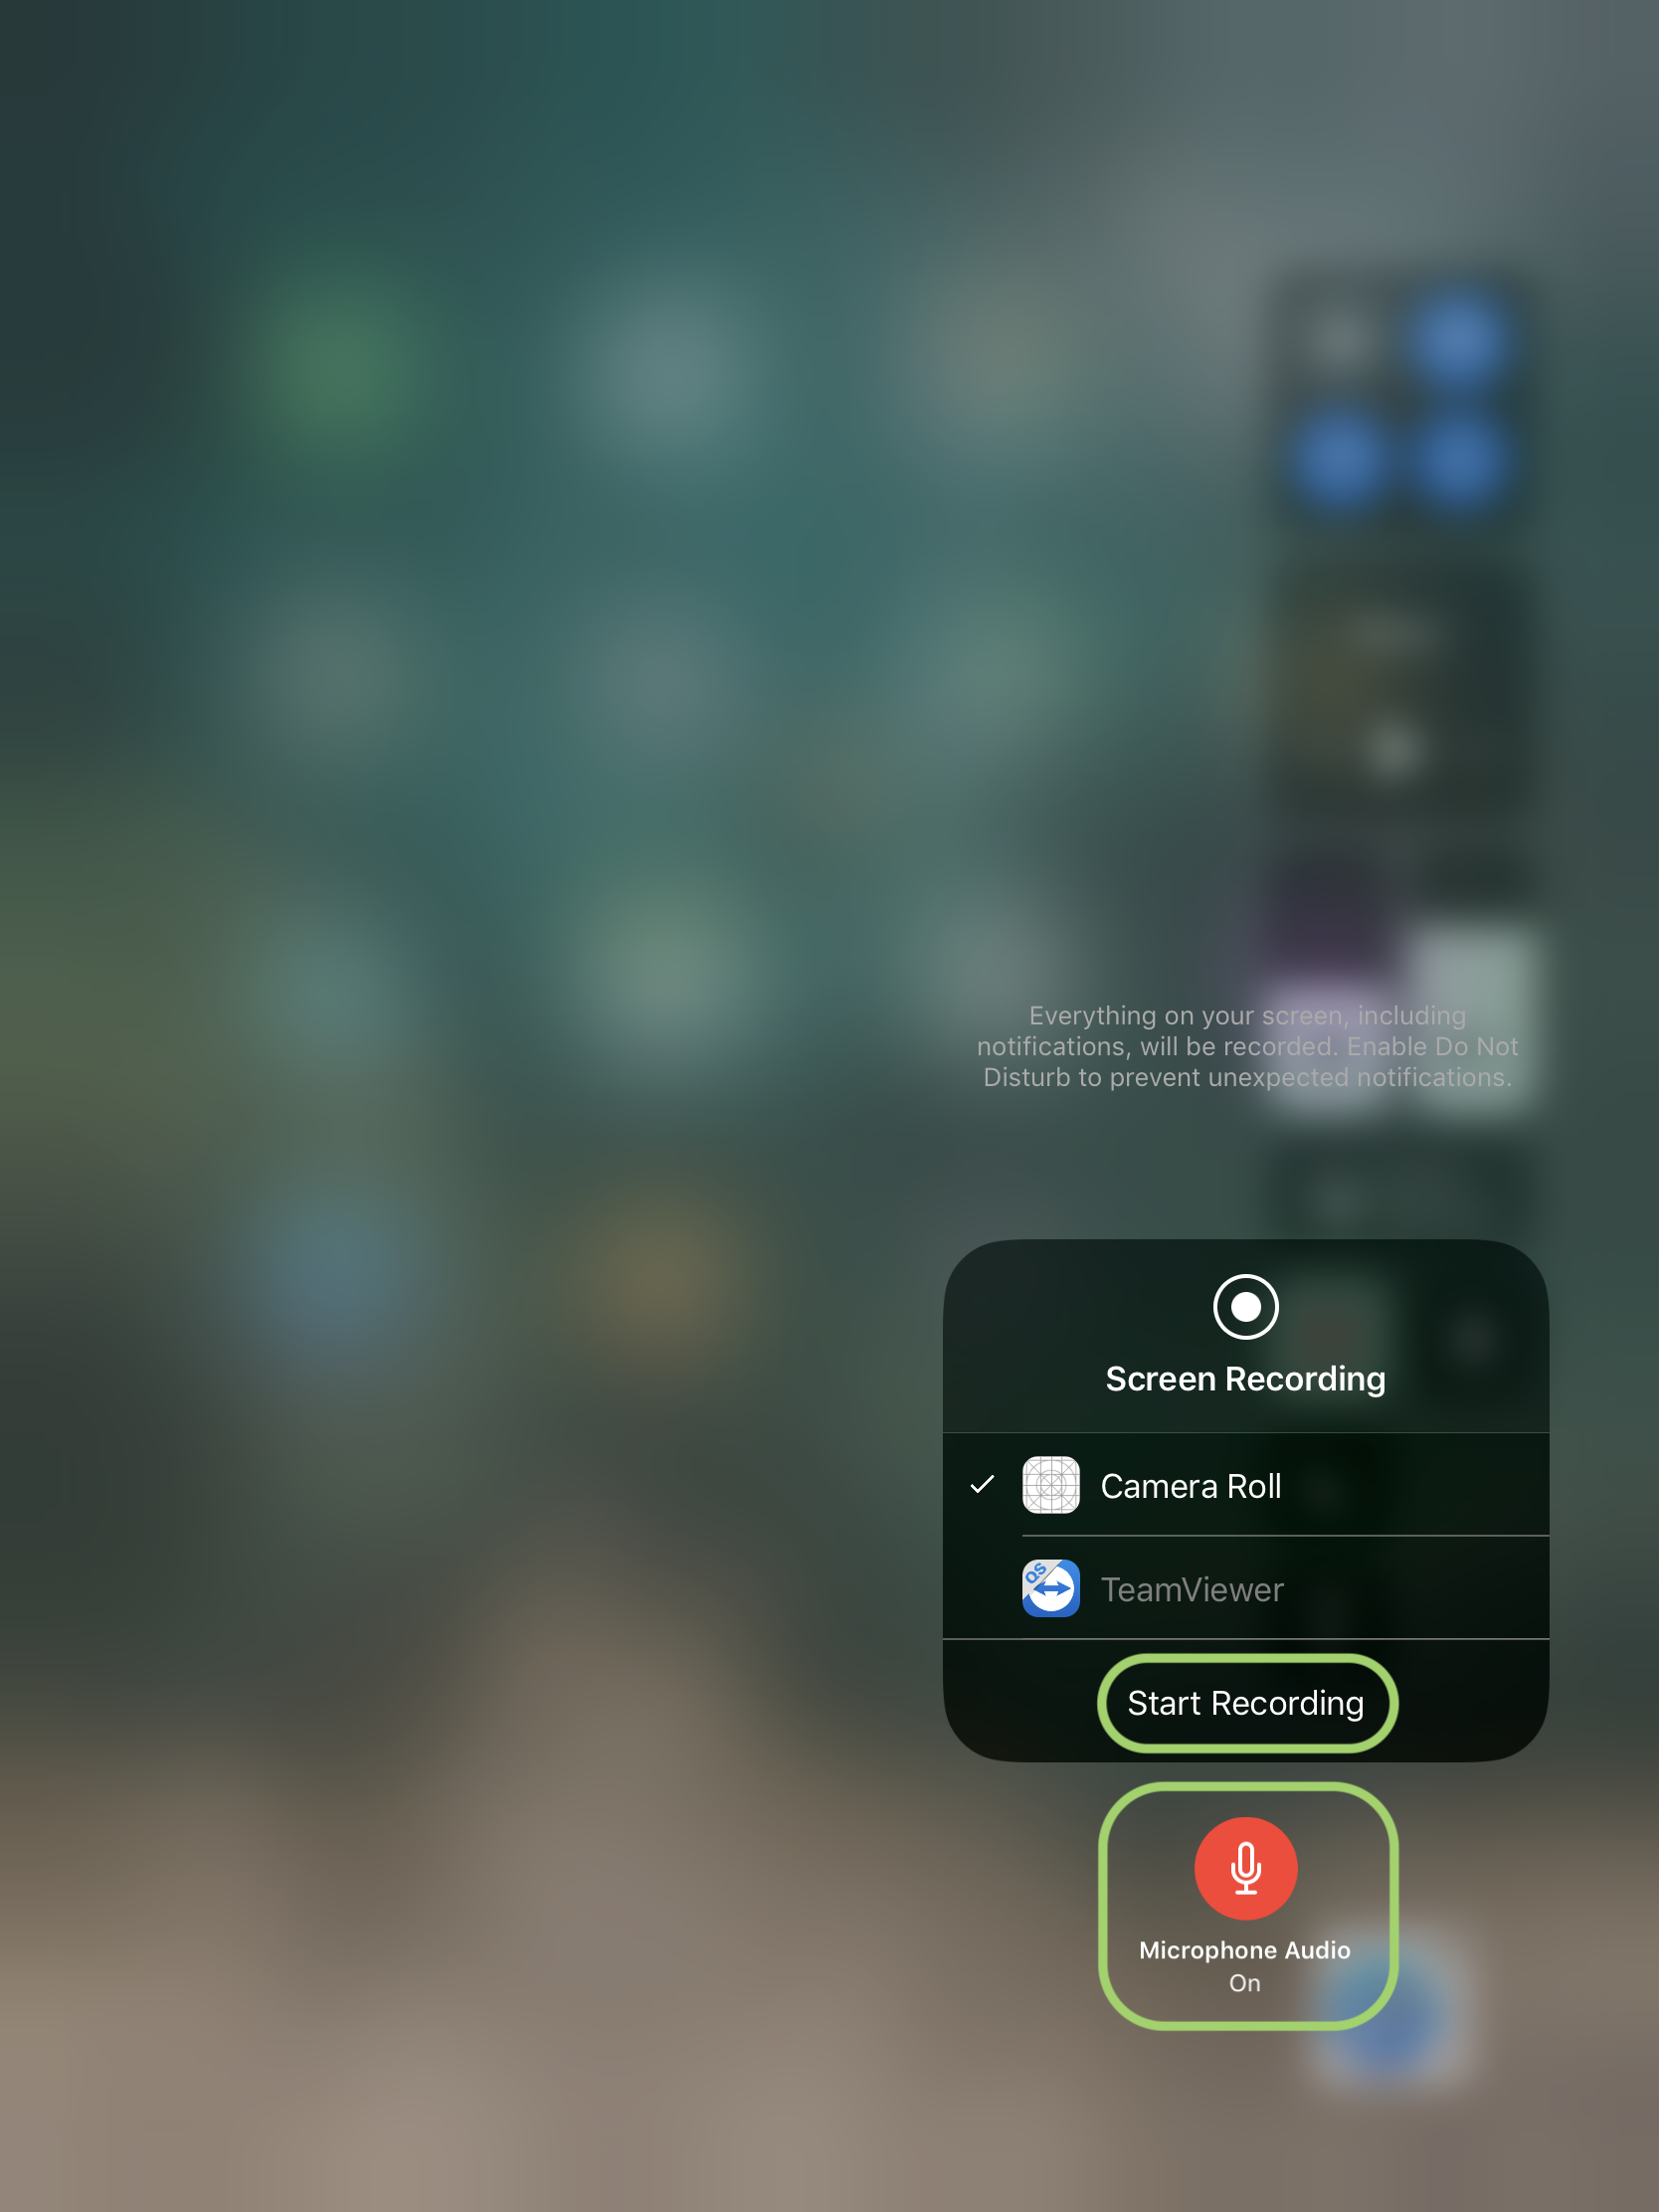
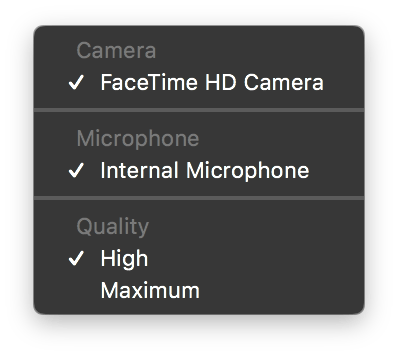
- Record Screen Activity using QuickTime
- Record a quick movie using QuickTime
- Automate Tasks & create workflows using Automator
- Encrypt Data using FileVault
- Show your iPhone/iPad screen on a projector using QuickTime on Mac
- Backup data using Time Machine
iPhone/iPad
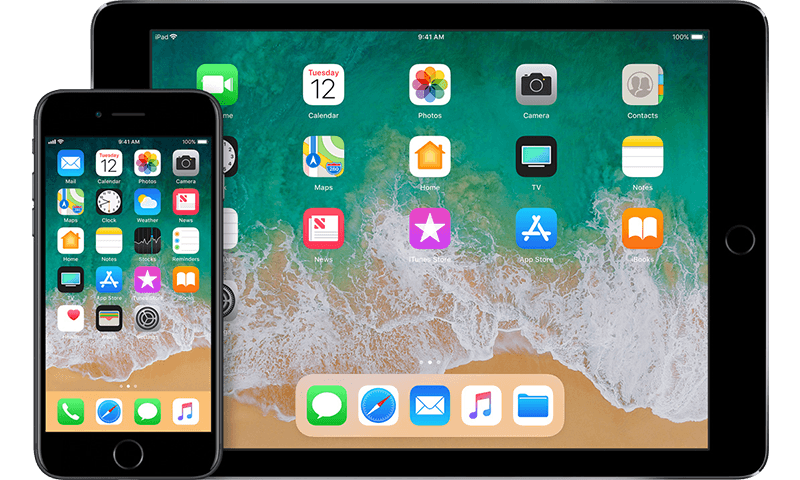
Which one to buy?
The decision on whether to buy the iPhone &/or the iPad depends a lot on what you intend to use it for. As such the major differences between the 2 devices are:
- iPads tend to have larger screens
- iPhone has cellular communication capability
- iPhones are more portable as compared to iPads
- iPads are better suited for long duration usage
- iPads tend to be higher powered devices
While it appears that iPads are better than iPhones, that is not necessarily the case. iPhones being smaller and more compact have many advantages too.
Ideally speaking having both, an iPhone and an iPad, is the best thing to do.
To make a decision use the task list below to help find out if you need an iPhone or an iPad or both.
Note, even though I mention that the tasks can be performed easily on an iPhone, many of the tasks can also be done very easily on the iPad. The point is to illustrate ease of use in situations where you have to perform tasks with a single hand or when you are on the move.
Tasks easily performed on an iPhone
- Making calls
- Messaging
- Scheduling activities such as: Reminders, Appointments, Events
- Taking Photos & Videos
- Emails
- Banking Transactions
- Finding Transit Directions
- Finding a Taxi
- Making E-Payments
Tasks easily performed on the iPad
- Writing letters & blogs
- Creating Presentations
- Working with spreadsheets
- Creating posters, flyers
- Working with business applications
- Content creation
If you do a mixture of tasks from both the lists then getting both an iPhone as well as an iPad is a good idea.
A thing to keep in mind is that the Pro version of the iPad also has a nice keyboard accessory as well as the Pencil available. These 2 products make the whole experience so much better.
Screen size consideration
iPhone and iPad screen sizes vary quite a bit. Here are some tips on the tasks which can be best performed on specific screen sizes.
Creative Work
Generally speaking, creative tasks require a large screensize. So for an iPhone the smallest screen you should have is 4.7″. Similarly for the iPad the smallest screen you should have is the 9.7″.
Documents, letters, spreadsheets
These tasks are better performed on the iPads as such you can go for any screen size in them. Of the lot, its a lot easier to create documents and letters on the phone than spreadsheets. Again, for phones one should the larger the screen size the better.
Presentations
Like documents and spreadsheets presentations are a lot easier to create on the iPad. They can also be created from the phones. The larger the phone the better.
Messaging & Communication
This is one aspect where the screen size is not so much of an issue. In fact, some users may find the smaller screen size a lot better. Typically, the iPhone is a much better device than the iPad for this.
Productivity & General Tasks
This includes calling taxis, ordering food, taking notes, control keynote presentations, setting up appointments and reminders. These tasks are also best performed on iPhones. They can be done well with the iPad too.
Built In Applications that might be useful
Productivity Tools
There are 3 applications which are a part of the suite called iWork that are very useful in organisations.
- PAGES: Built in word processing application. You can easily created documents, letters, reports and even have them exported in Microsoft Office compatible format.
- KEYNOTE: Built in presentation applications. Enables you to create powerful presentations from scratch. Like Pages it is possible to create presentations that are compatible with PowerPoint.
- NUMBERS: Built in spreadsheet application. Enables you to quickly create spreadsheets and export them to Excel if needed.
The other advantage is the fact that these applications are also accessible from the cloud. Tight integration with iCloud means that you can make changes to documents from your Mac, iPhone, iPad, or iCloud.com.
Creative Tools
There are 2 applications which are available for creative purpose. These might be handy for people working in the creative departments.
- IMOVIE: Quick create movies using videos, audios and photos that you have.
- GARAGEBAND: A simple Music creation application that comes with a library of different instruments.
Other Apps
Popular Third Party Applications
Office Suite
Productivity
Cloud
Creative
Security
Communication
Some tasks that can be done with built in Applications
- Scanning Documents using Notes
- Recording Voice Memos
- Control HomeKit devices
- Edit PDFs through iBooks
- Create PDF documents through pages & then edit the PDFs either through iBooks or markup utilities
- Record and Edit videos using the camera & iMovie
Useful iPad Accessories
TV
There are a few things that can be done with the TV. It can be used to mirror both macOS & iOS Devices. In which case apps such as Reflector are not really required.
It is very easy to setup and use. This can make projecting both the iPad screen as well as the iOS Screen very easy & it allows you to move across the room as you are not physically wired to the projector.
Final Word
As we can see there are a wide variety of apps available both for macOS & iOS. These include built in apps as well as Third party apps. The community of developers creating these apps is strong and growing. There are many more apps which can be used for a wide variety of purposes.
This article should give the user a fair idea as to the capabilities of devices such as iPads, MacBooks and the rest of the line up. The good thing is that for enterprise environments its easily possible to create apps that are tailored to the needs of that organisation and this makes the devices much more attractive.