Screen capture and recording in macOS

Continuing from the articles on recording macOS and iOS screens here is another handy built in tool.

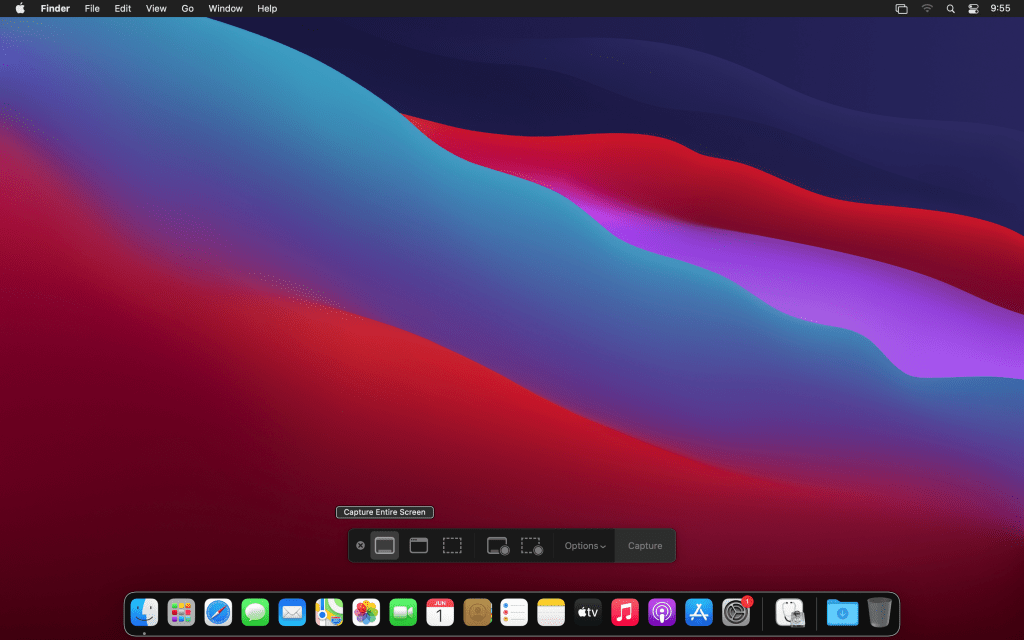
Press the key combination ⇧ ⌘ 5 and it brings the screen capture/recording menu.

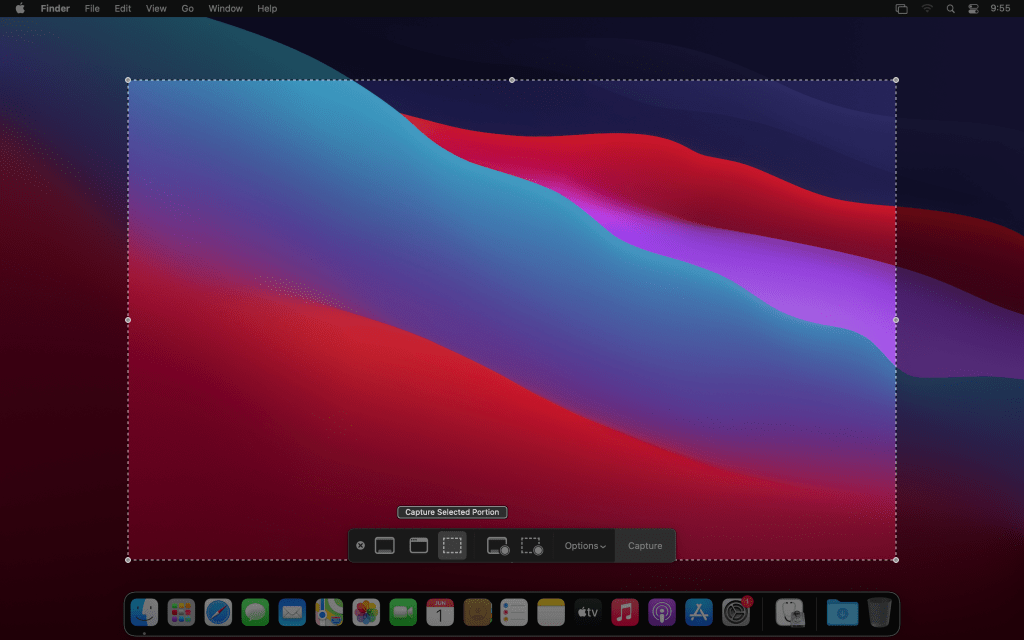
You can perform all the operations available from the menu here.

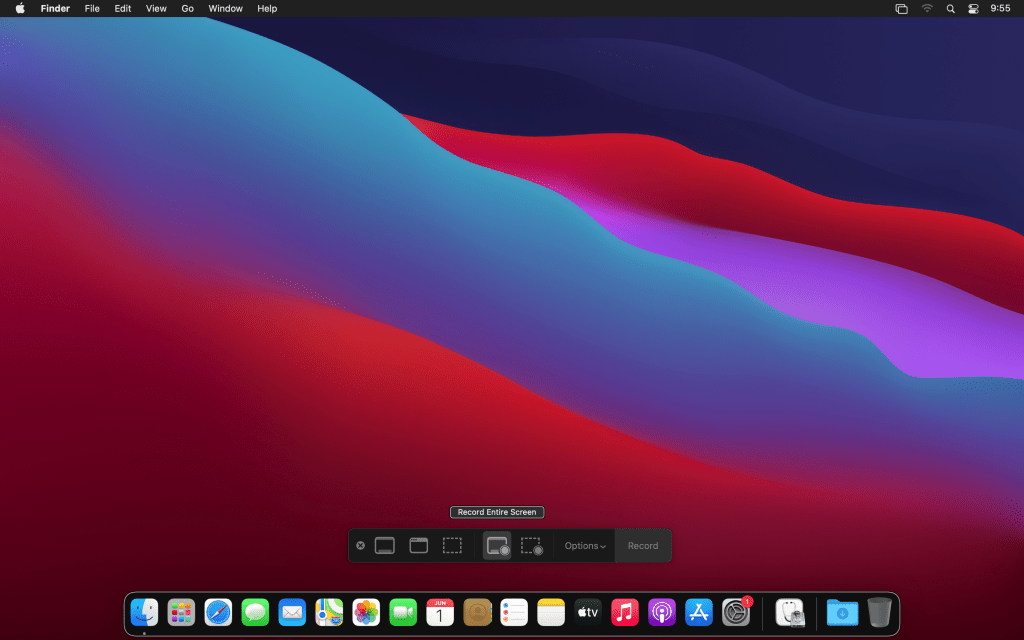
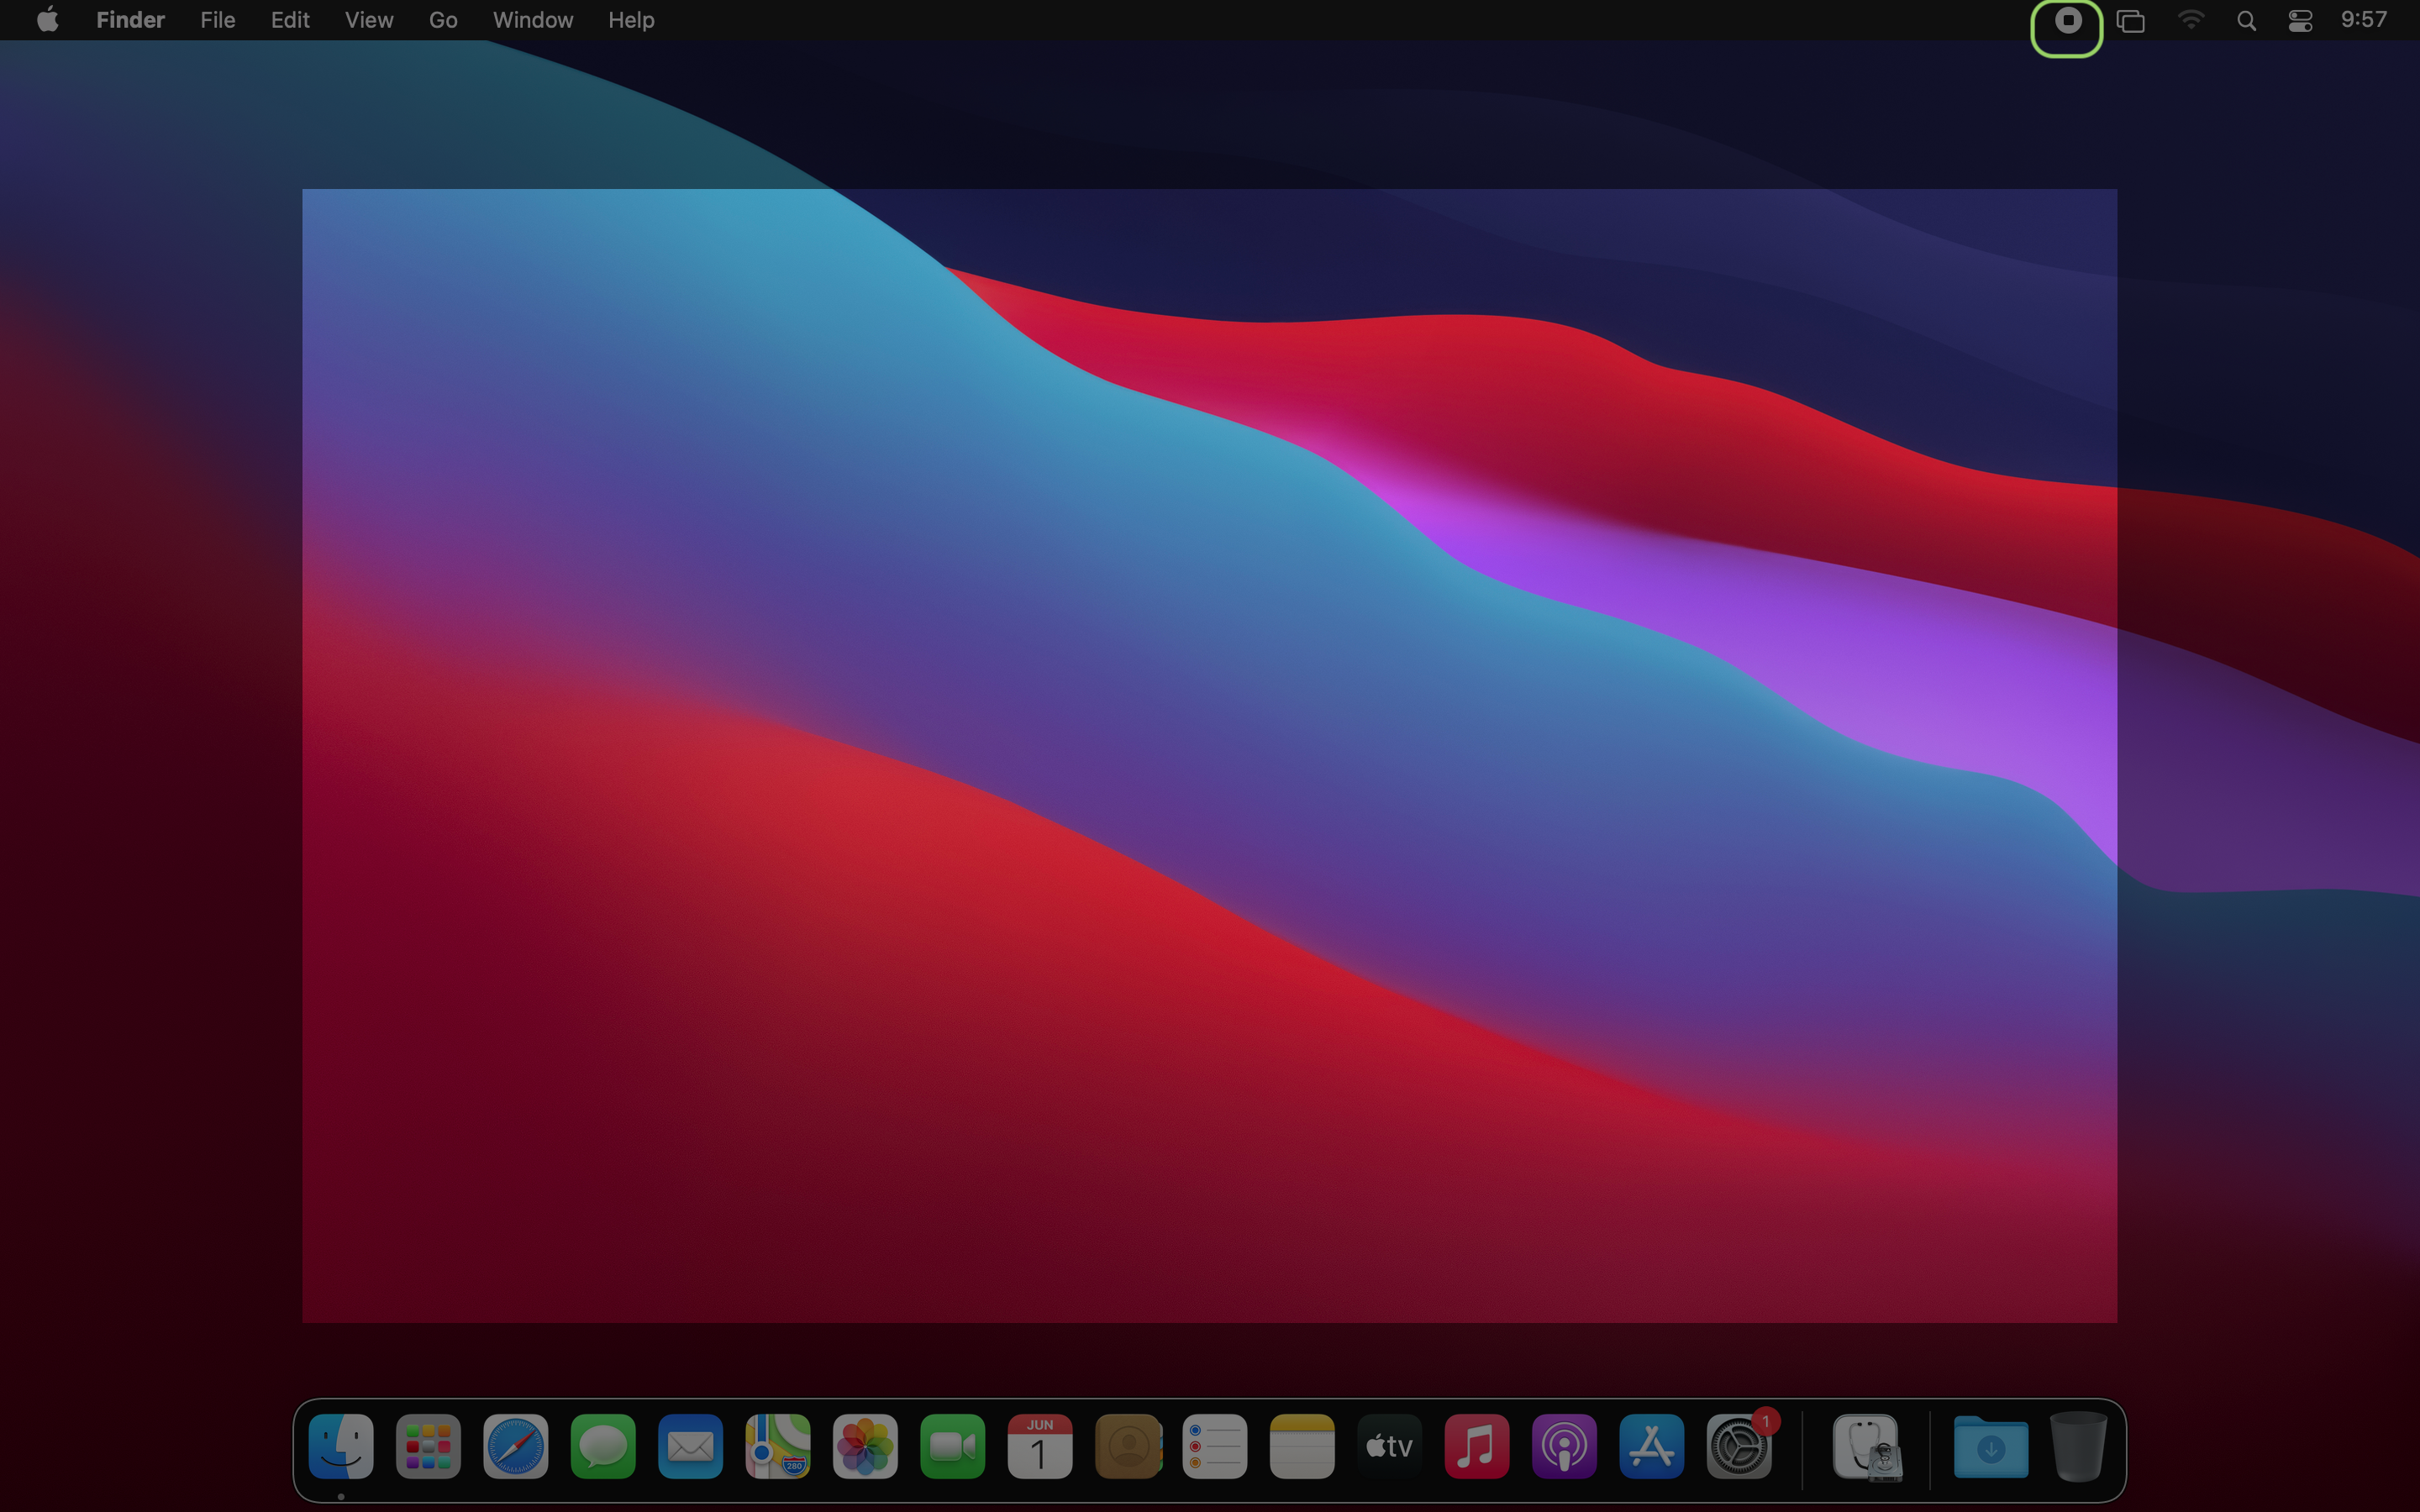
Of course once we start the recording then we can see the record button in the menu bar.

Once the recording is completed you can save it as a movie file.

This unified interface now offers a lot of convenient options for capturing visual content in macOS.

Advertisement

iPhone Screen Recording – Part 2

This is an addendum to the earlier topic on Screen and Audio recording on macOS & iOS.

In the earlier article we had discussed how to share the iPhone screen on the project or how to record iPhone screen activities. In this article we are going to see how to use the built in feature of iOS 11 to do the same.

  1. First we must add the button to do this to control centre. Open Settings > Control Centre> Customise Controls .IMG_0134
  2. Tap on the ‘+’ button next to Screen Recording to add Screen Recording to the control centre. Close the Settings App.IMG_0135
  3. Swipe up from the bottom of the screen to bring the control centre options.
  4. Tap on the Screen record button. Tap the microphone audio button to record audio if you wish.IMG_0136
  5. Tap the “Start Recording” button to start recording. To stop simply tap on the “Stop Recording” button.IMG_0138IMG_0140
  6. The video is saved in the camera roll.

Third Party Applications

This feature is used to provide screen sharing capability via apps such as TeamViewer.