This is the third part in the 3 part series on Apple ID & iCloud. This part touches on enterprise specific aspects.
Here are the links to Part 1 & Part 2.
Apple’s devices are getting more and more popular by the day. People are really excited to get hold of the newest product that comes out of its stable. This guide walks you through some of the things you need to keep in mind while buying used devices or selling your existing device. This may not apply when buying a new product from the store for the first time, however, its still good to know these things & run your device through a checklist.
Note the checklist provided below is by no means comprehensive nor is it complete. There might be other things to keep in mind before buying &/or selling used devices, depending on the geographic area, situation, and circumstances.
Before buying a used products run them through this checklist. Some items are device specific.
The list above should give you a good idea on what you need to do while planning to sell your Apple device.


Enterprises may take additional steps
These are some of the things that you can do to make the transaction easy on both the sides.
Data safety is always a must. With portable devices it gets even more important. Here are a few steps that one can take to make sure their iPhone/iPad/iPod touch is secure. While the guide says iPhone, you can apply many of these steps to other iOS devices, subject to feature availability.
This is the simplest form of security. You are prompted to setup your passcode during the initial device setup itself. While it is not necessary, it is highly recommended. Of course, you can change this at any time. The other option on the newer devices is to use the fingerprint scanner called Touch ID. This adds a convenience to the user while taking care of the security needs. The important thing is that your finger print details are left on the device. Nothing is shared over the internet. The Touch ID is limited to newer devices.


Activation lock is a feature that was first introduced in iOS 7. The idea behind Activation lock is to make sure that no one is able to use a stolen device, even if it is erased. This is activated automatically once you sign into your iCloud account. To use a device after it has been erased, the user must enter the Apple ID & password that was used to sign into iCloud on the device.
Care must also be taken when transferring devices & Activation Lock: https://support.apple.com/kb/PH13695?locale=en_US
This feature is available via the iCloud service. It allows you to locate your device & shows it up on the map itself. This feature is extremely useful if you have lost the device. Note: For this to work, the device requires an active network connection.


Once configured, you can locate the device using the web that is via http://www.icloud.com or through the “Find my iPhone” app on another iOS device.
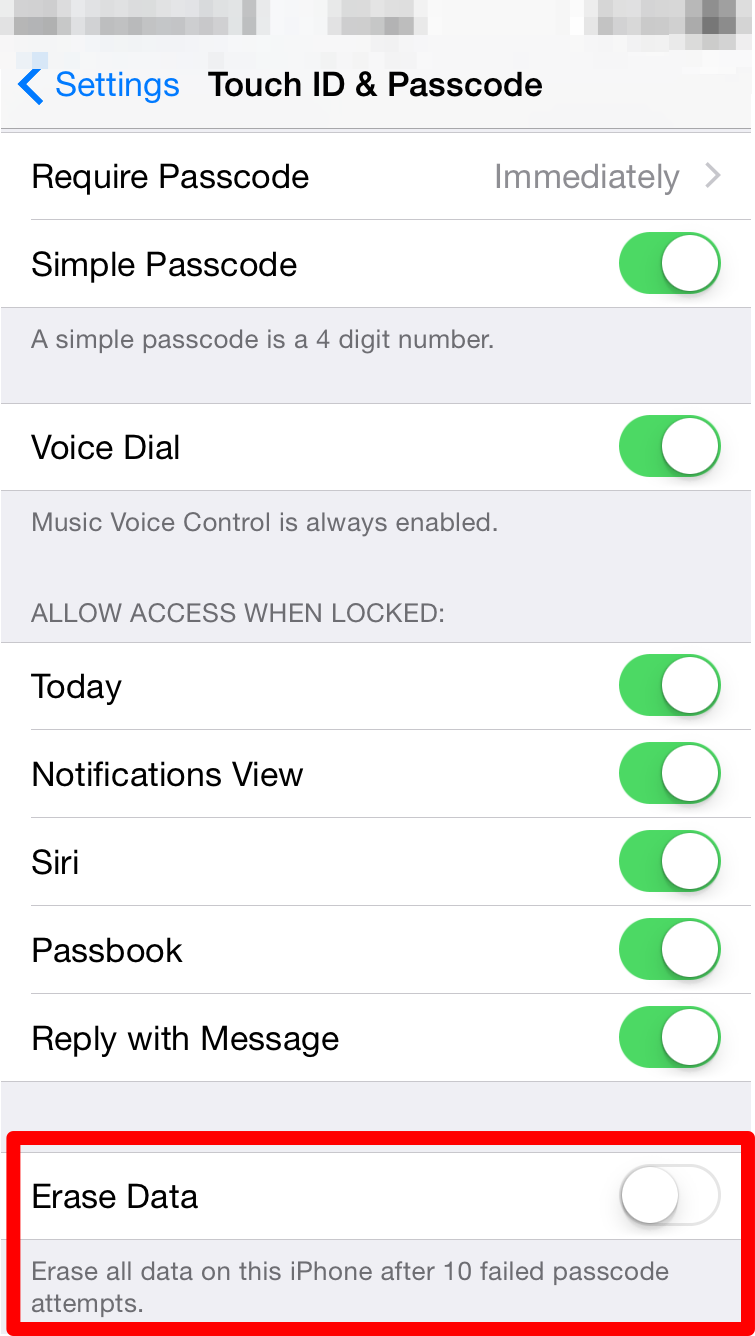
Another useful option is to automatically erase the phone, if the number of passcode attempts by a user exceeds the maximum specified limit.
This is setup in the Touch ID & Passcode section within the Settings app.
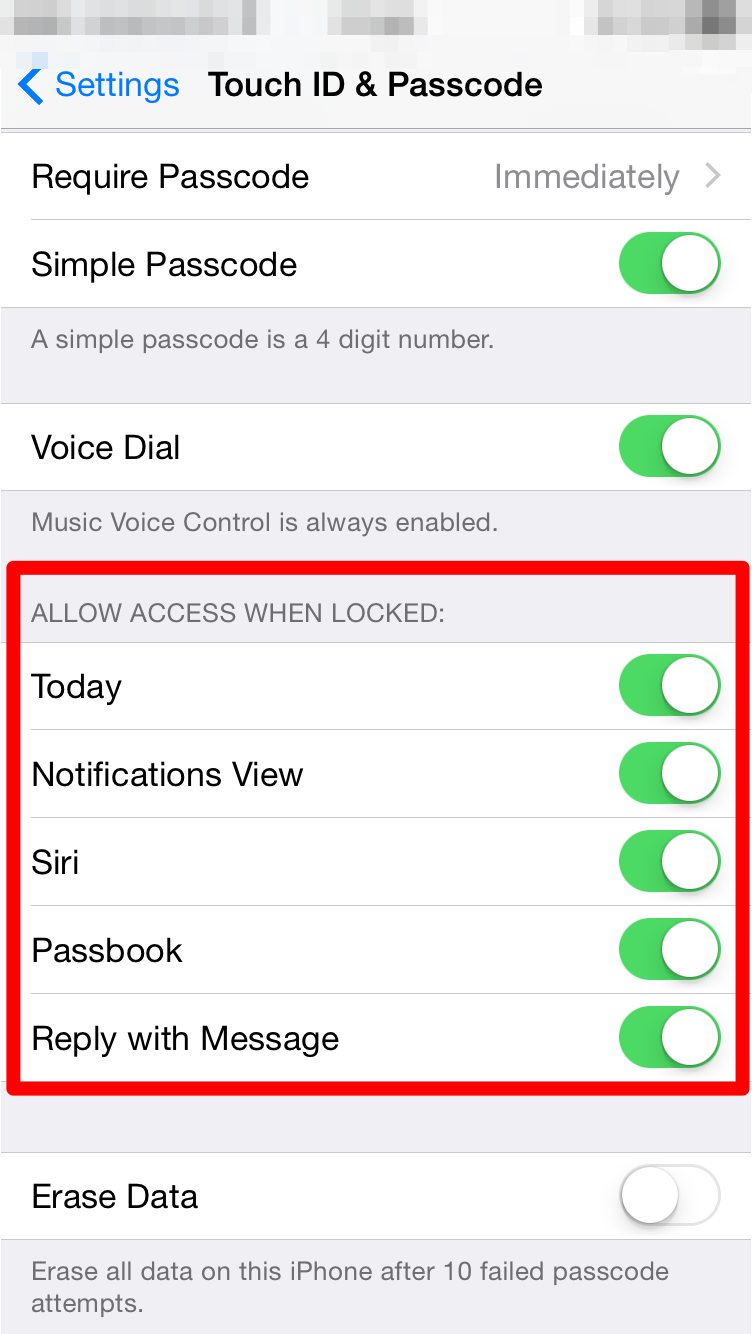
Just having a passcode or Touch ID may not be enough in all cases. Some data is also available from the lock screen. One can control the availability of data on the lock screen from the Touch ID & Passcode screen within the Settings app.
Additionally, you can also control what information from your device is being shared & which apps have access to that information. There is a lot of flexibility available when it comes to controlling the kind of information being shared.
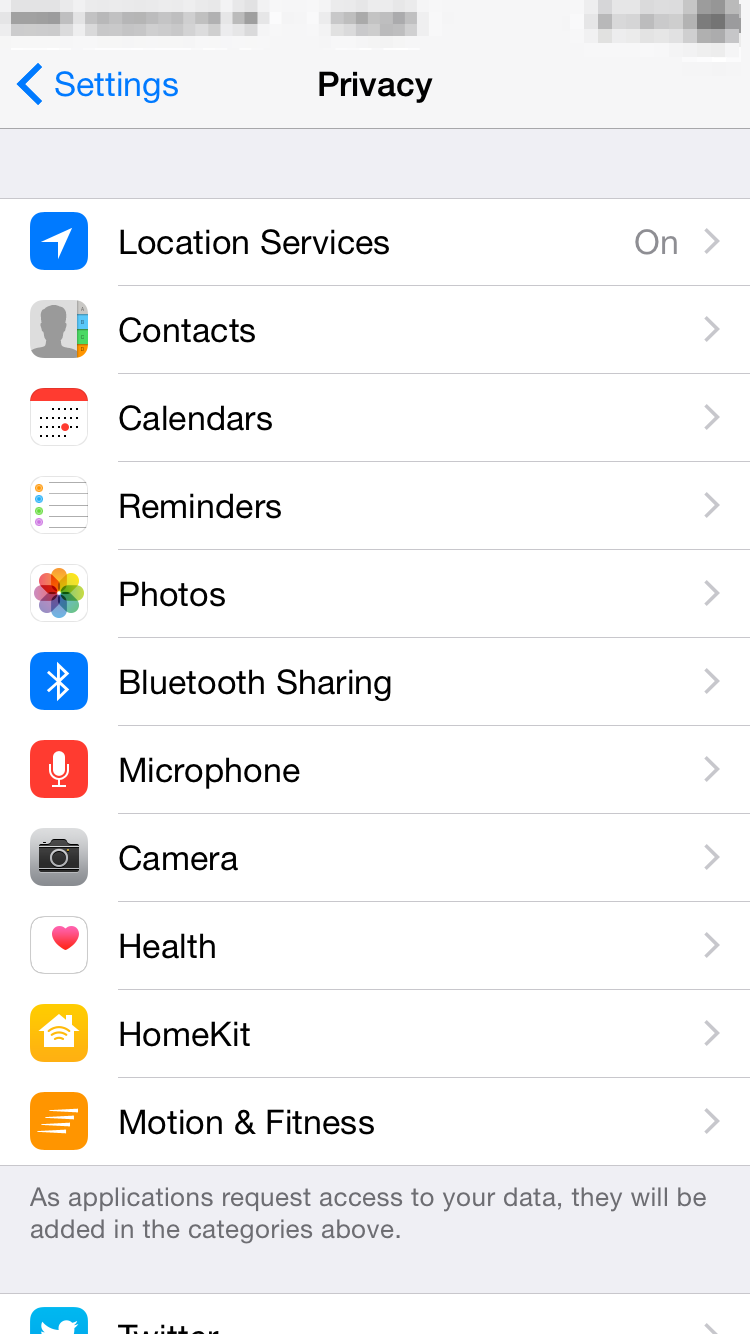
The user can specify which apps can access their contacts, calendar events, location & other data.
It’s very rare that one leaves their iPhone unattended. But in the rare cases that one is distracted from the task they are performing on the device, it would be nice to know if the device can lock itself up.
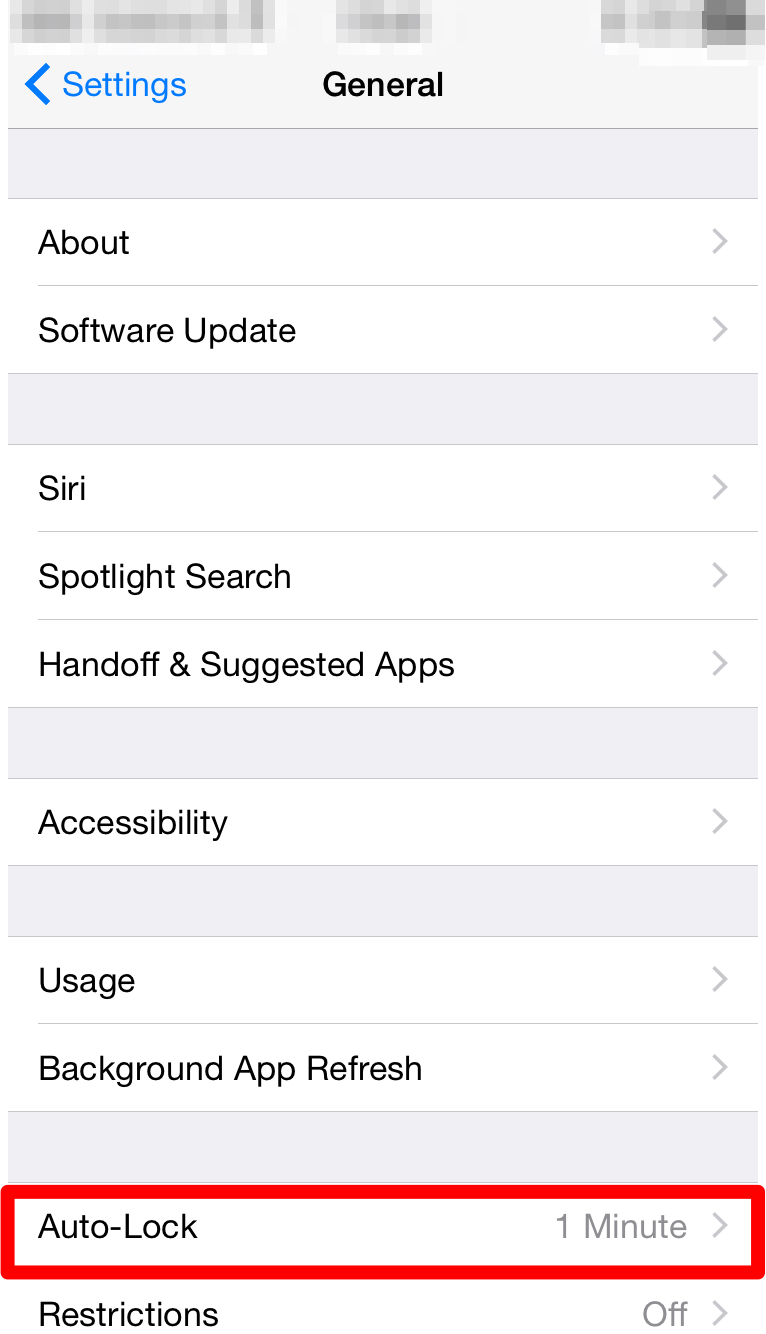
This is done through auto lock within the General settings under the settings app.
Located under the general settings within the settings app, restrictions, as the name says, allows us to disable certain applications and actions from being executed.

The passcode is required to enable/disable the feature.
One of the single most important aspects of using a computer is Data Management. In this article I will be going over the various features available & steps that you can take to manage your data in a safe, secure & efficient way.
 BACKUP
It happens ever so often that we are faced with a situation where we need a file to which we no longer have any access to. The reasons may be varied: lost computer, damaged or lost hard drive, accidental deletion. While there are applications that do retrieve lost files, they only work if the storage media is available & do not guarantee 100% recovery. The best solution to this is to backup your data.
The most common approach used is to manually copy the file onto an external storage. While this is easy, it can be tedious for the user & is error prone.
One of the easiest solutions is to use a backup tool called Time Machine. This is built right into OS X. You don’t need to install anything new. Just connect the hard drive where you would want to store all your backups. The OS will periodically backup all your data every hour as long as your backup drive is connected to the Mac. Many a times you are prompted to choose an external drive for backup, but that pops up only when you connect a new hard drive or a hard drive which isn’t used for backup.Once you have this activated you can then navigate back in time (just as you would expect from a time machine) and look for a file that you have lost.
1) Connect the Hard drive you want to use as a backup destination.
2) Click on System Preferences > Time Machine to customise your backup.
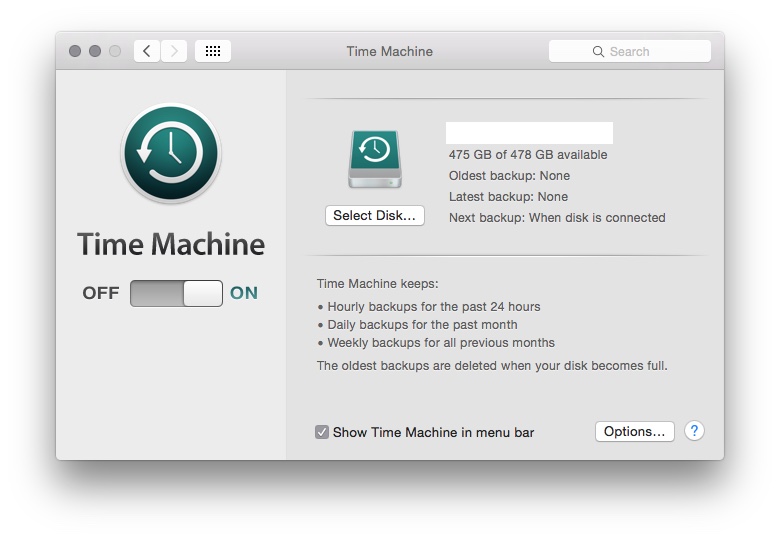
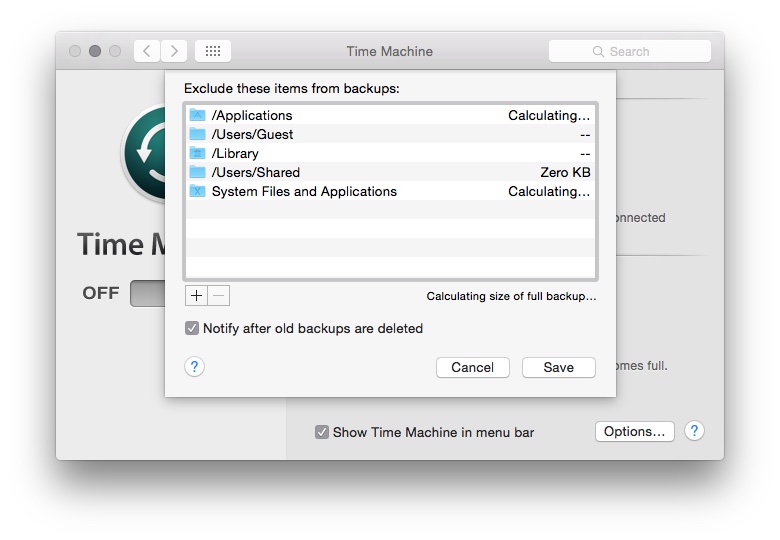
3) Click on Options to select the folders to exclude from Time Machine Backups.
 There are other third party tools which you could use if you wish. Retrospect and Carbon Copy Cloner are 2 of the many 3rd party tools available for this.
 SYNCHRONISATION
In todays world most of us are using more than one device for our daily activities. This means that we would like to have most of the information on all the devices. This can be achieved through various applications that are available to manage our portables such as smart phones & tablets. But by far the easiest approach is to take advantage of Cloud Services.
If you have an iPhone &/or an iPad which you use along with your Mac then the best service for this is iCloud. However if you use a mix of platforms such as Android or Windows for your smart phones & tablets then using any third party service such as Google Drive, Drop Box, OneDrive will help you ensure that your information is available via the cloud across all devices.
1) Click on System Preferences > iCloud.
2) Sign in with your iCloud ID & password.
3) You should come to the iCloud panel where you can configure different iCloud Services.

4) Select the different content you want managed under iCloud.
This is one area which is increasingly gaining more importance. An important aspect of data management is keeping your data secure. While there is no such thing as a completely secure computer, one can definitely take steps to make sure that one’s information is kept as secure as possible.
ACCOUNT PASSWORDS: This is probably your first line of defence. Having a good strong password goes a long way in securing your data. There is a nice built in tool that evaluates & rates the passwords that you create, called as password assistant.
Password Assistant can be found on any screen within the Mac that prompts for a Password. Like the screen shot below when we are creating a new user for the Mac.

The key icon is to be clicked to launch Password Assistant.
The Password Assistant itself gives you a lot of options when it comes to choosing your password type.

Use the drop down to select the password type.
KEYCHAIN ACCESS NOTES: Keychain access is a builtin application that manages your secrets such as passwords, keys & certificates. There is also an option to save a note. Information within the note is saved in an encrypted way thereby securing it.
ENCRYPTION: This is the most secure way of saving information. There is a builtin encryption feature called FileVault which encrypts all the data on your system. There are 3rd party tools that can do this for you too: GPG, AES Crypt, PGP to name a few.
Once can use a combination of the 3 or all 3 depending on the level of security required. It is also a good idea to keep your backup secure. Securing your computer but not the backup is a bad idea.
Yet another common issue that a lot of us face. Most computers that have come in over the past few years offer very large built in storage space & in most cases it is sufficient. But with the growing number of photographs, movies & songs we often find that space on our computers isn’t sufficient. This is not an easy problem to solve.
A simple approach is to keep only those things we require on the Mac. Also using cloud services to store information that we don’t need to access frequently is a good idea. Compressing data using zip files is also a good approach. But a better option, especially for large amounts of data, is to compress them into ReadWrite disk images. External storage can also be considered for placing extra data.
One area where storage management is not looked at but is equally important is related to the backup drive. Overtime as your backup drive fills up it starts removing older backs (in case of Time Machine). To ensure you have as long a history of backups, make sure that you only backup those things that you need. For example there isn’t a pressing need to backup all the OS files & applications, one can reduce the backup size by eliminating unnecessary items from the backup.
