Continuing on from the previous post, where we learnt to secure our iOS devices, we will now apply similar steps on the Mac.
The security of a computer is easy to maintain if physical access to the device is restricted to yourself as far as possible. If any unauthorised person has physical access to your computer then all bets on security are off. While it’s easy for us to say that no one else is going to use the computer, one must always take some precautions. The following are just some of the steps one could take to secure their Mac.
User Accounts
This is the simplest way of ensuring very basic security. If more than one person is using a Mac one can have different accounts for each user. The account type that can be used for other users are:
- Standard Users: This is a basic account that is used everyday. This accounts limits the user to his own files & folders only. The user has the option to install applications too.
- Managed Users: They are standard users with restrictions. An administrator can specify what the user can or cannot do. This includes time limits, restrictions on applications & websites.
- Guest User: This is the simplest of the lot. Good for people who wish to access their emails & leave no data behind.
User Account Password
This is the simplest form of security. It is the password that you use to login to the computer. Having a strong password goes a long way in securing your Mac.
Setting a password
A password to your account will very likely be set when it was first created.
Changing the password
This can be changed at any point in time.
- Open System Preferences
- Click on Users & Groups
- If necessary unlock the padlock icon and authenticate as the administrator on your Mac.
- Select your user account
- On the right hand side click on change password
The other approach towards changing the password is:
- Open System Preferences
- Click on Security & Privacy
- Click on the General tab
- Click on the “Change Password” button next to the sentence: “A login password has been set for this user”
Note: for both the approaches you must know your existing password.
To create a strong password use the built in Password Assistant
Encrypted Disk Images
This offers a convenient approach towards storing your files securely. Disk Images are created using Disk Utility. To create encrypted disk images:
- Open Disk Utility. It’s located in the Applications > Utilities folder.
- Click File > New > Blank Disk Image.
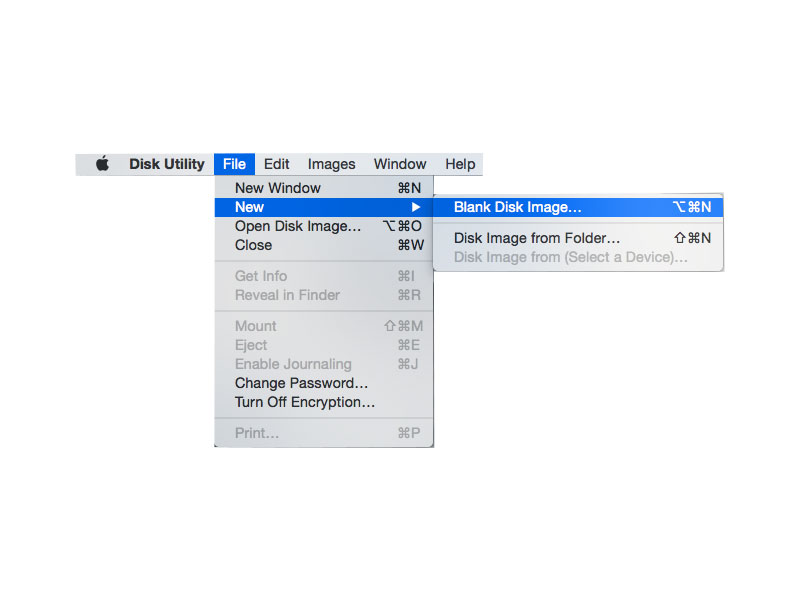
- Don’t select the ‘Disk Image from Folder ‘ option.
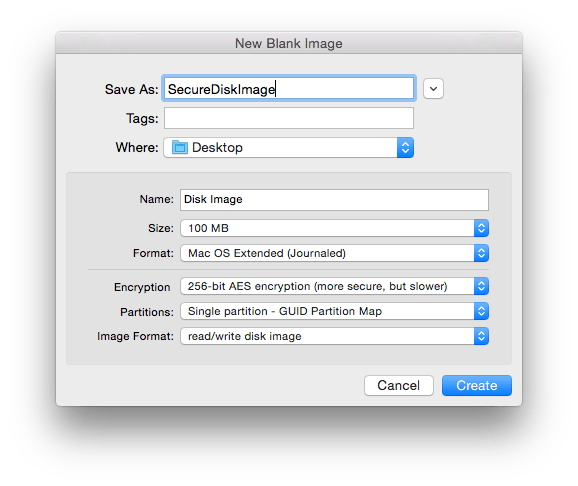
- Specify the size of the image.
- In the Image Format select ‘Read/Write’
- Under security select the level of encryption desired.
- Provide a name and click create.
- Choose where you wish to save the disk image, provide an appropriate password.
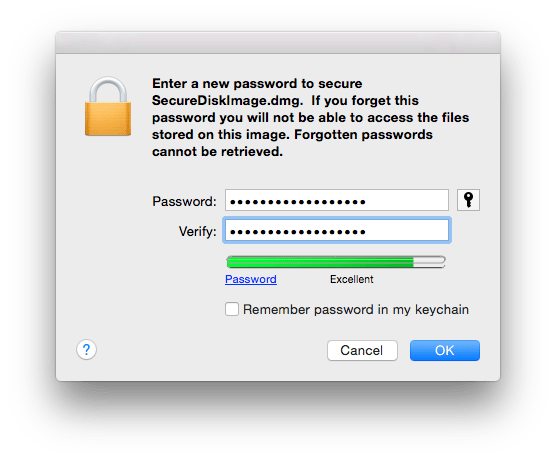
- Once the image is created, open the image.
- It mounts as a virtual disk, you will be prompted to enter the password you set earlier.
- Now you can add files you wish to secure.
- Once you are done simply eject the volume.
- The next time you wish to access the files simply open the image and authenticate with the password.
This ensures that your information is completely safe.
Firewall
 The firewall option is nice if you want to secure your communications over the network. From here you can control which applications can communicate over the internet or receive communications over the network. Simply turn on the Firewall & control access to the computer.
To customise the access to a network:
- Click on Firewall Options
- You can then click on the +/- buttons to add or remove applications from your firewall list. You can also modify whether a particular application is blocked.

FileVault
Disk images provide the option of securing some of your files. But what if there is a lot of secure information that you have? Disk images maybe used but it can become tedious if there are too many files. In such situations using FileVault to secure your files is preferable.
FileVault encrypts your main partition, that is, the partition from where you boot your OS from. Most users would have a single partition on their disk, for them it would mean that FileVault encrypts the whole hard disk. So anything you create on the encrypted partition is automatically secured.
To turn on FileVault:
- Open System Preferences > Security & Privacy > FileVault Tab.
- Click ‘Turn on FileVault’.

- Authenticate as the administrator if necessary.
- You will be asked where you wish to save the ‘Recovery Key’? This key is important because you would need the recovery key to reset your account password if all administrator users forget their password.
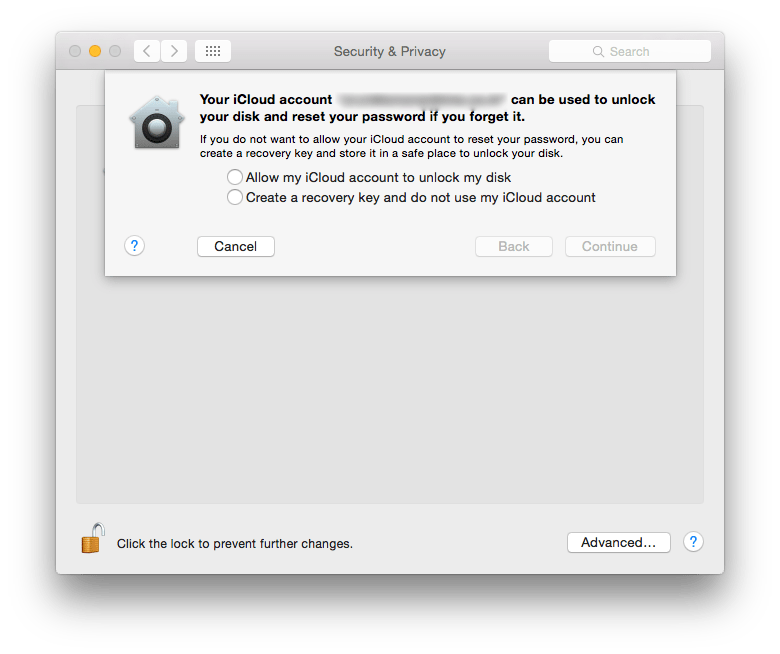
- You can choose to save it to your iCloud Account
- Click continue.
- Choose the users who will have the privilege of decrypting the system for daily use.
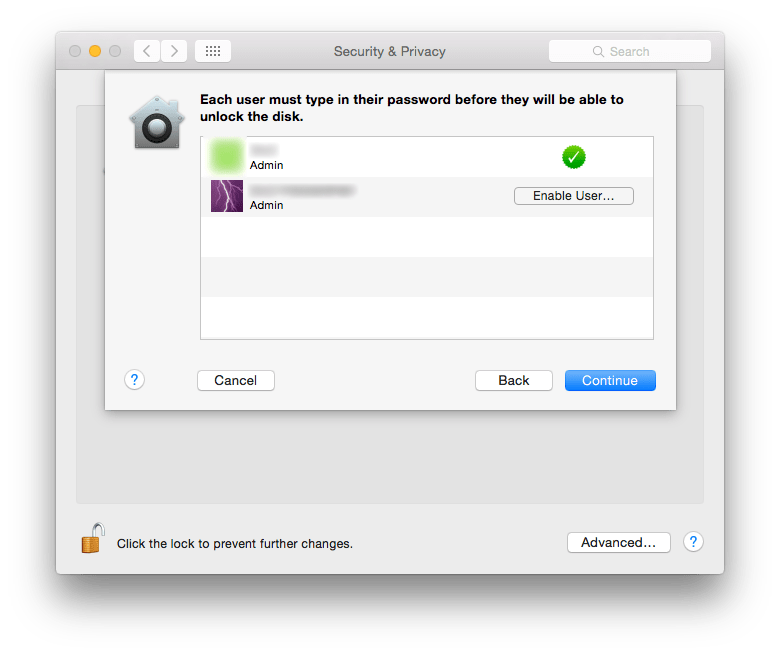
- Click Continue.
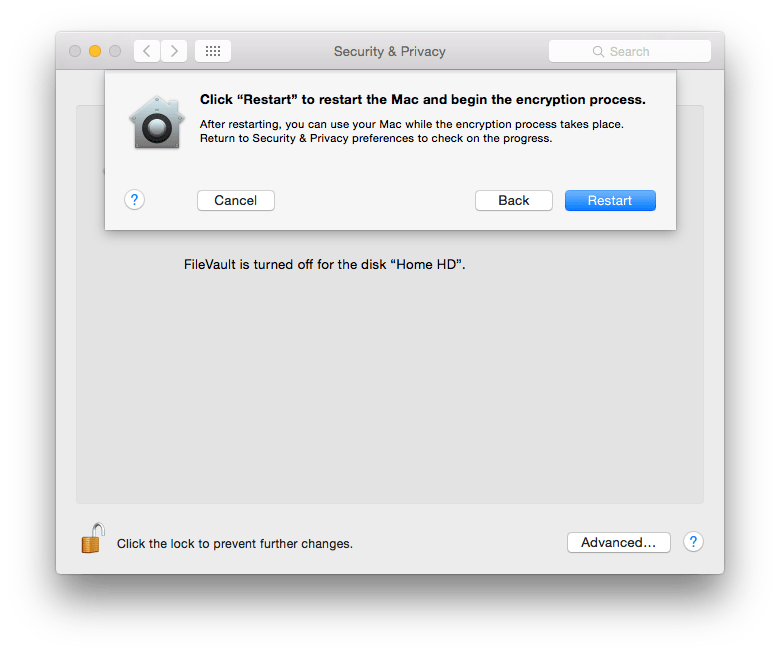
- Click Restart to start the Encryption process.
Logout & Sleep
If you are leaving the computer idle or unattended for a period of time, then it is a good idea to make sure that the computer itself is locked automatically. These settings can easily be set from System Preferences:
- Open System Preferences > Security & Privacy
- Click on the General Tab.
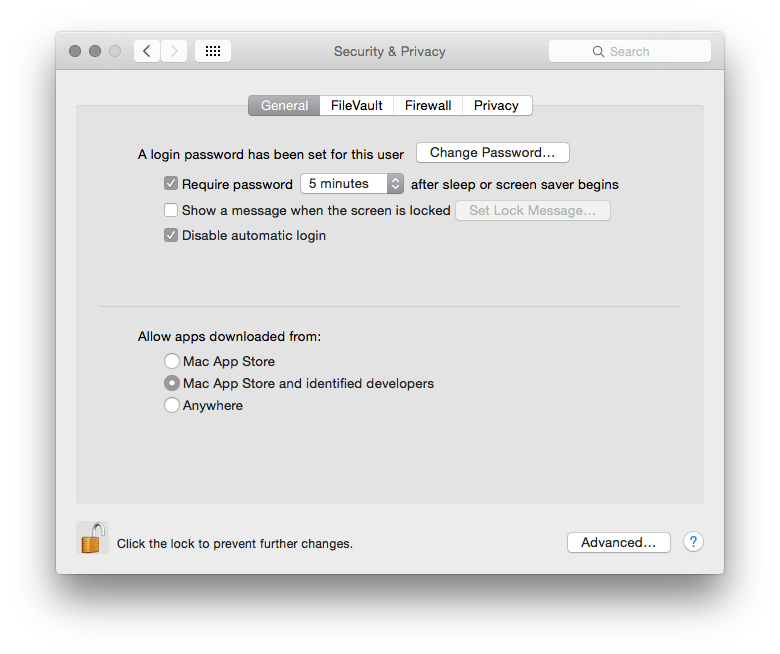
- Check the box for “Require password after sleep or screen saver begins“. This way the user will have to enter his/her password to start using the computer again. Specify the time duration after which this can happen.
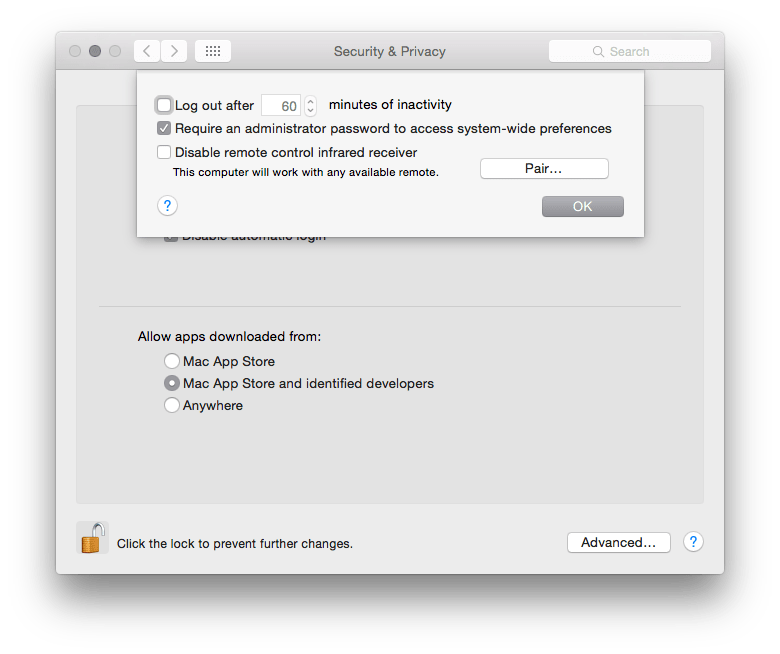
- Click on “Advanced“
- Select the check box to log out after a certain period of inactivity. Specify the time duration.
Find My Mac
This feature has more to do with locating a device that is missing. While it is called Find My Mac, one can locate both OS X as well as iOS devices. There are a few things to keep in mind:
- All the devices to be tracked should be signed in with the same Apple ID.
- The device must be connected to the Internet.
Setting up Find My Mac is easy:
- Open System Preferences > iCloud.
- Make sure you are signed in.
- On the service list, located on the right hand side, scroll down to the checkbox for Find My Mac.
- Select the checkbox for Find My Mac if it is not already selected.
- You may need to grant access to location services.
Locating a device using Find My Mac:
- On any computer visit www.icloud.com
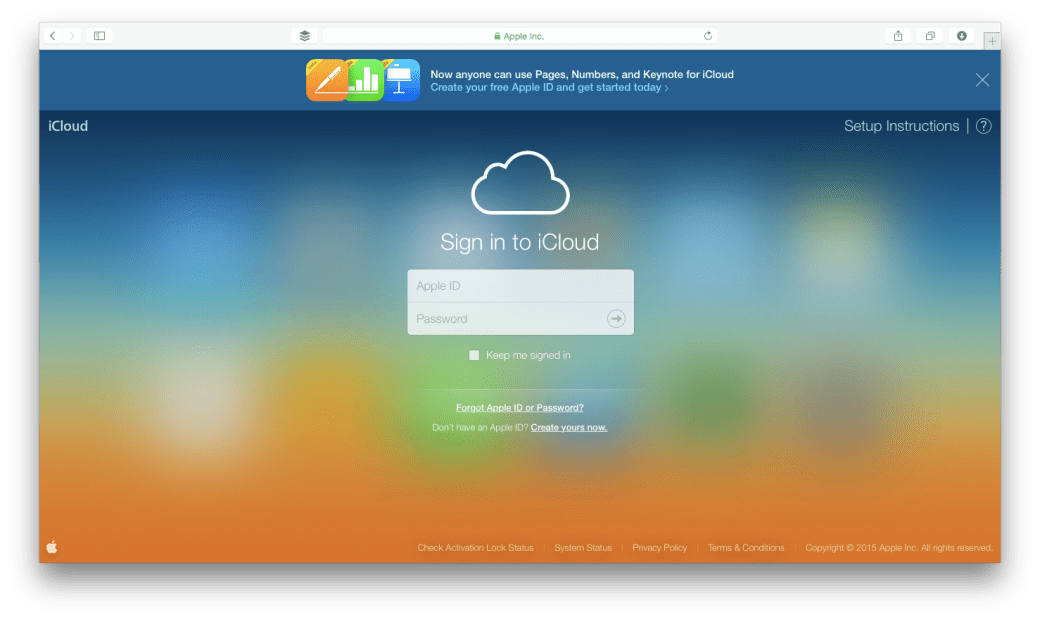
- Sign in with the same Apple ID/iCloud ID you had signed in with on your Mac.
- Once you log in click on the Find My iPhone app. Remember, even if it is called Find my iPhone, you can search for any iOS or OS X device.
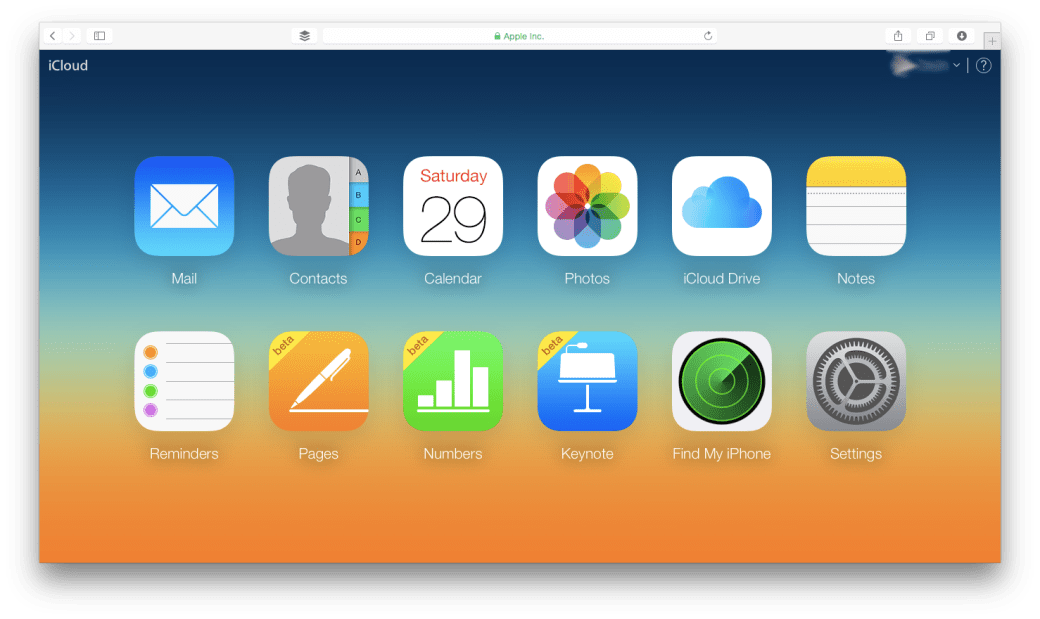
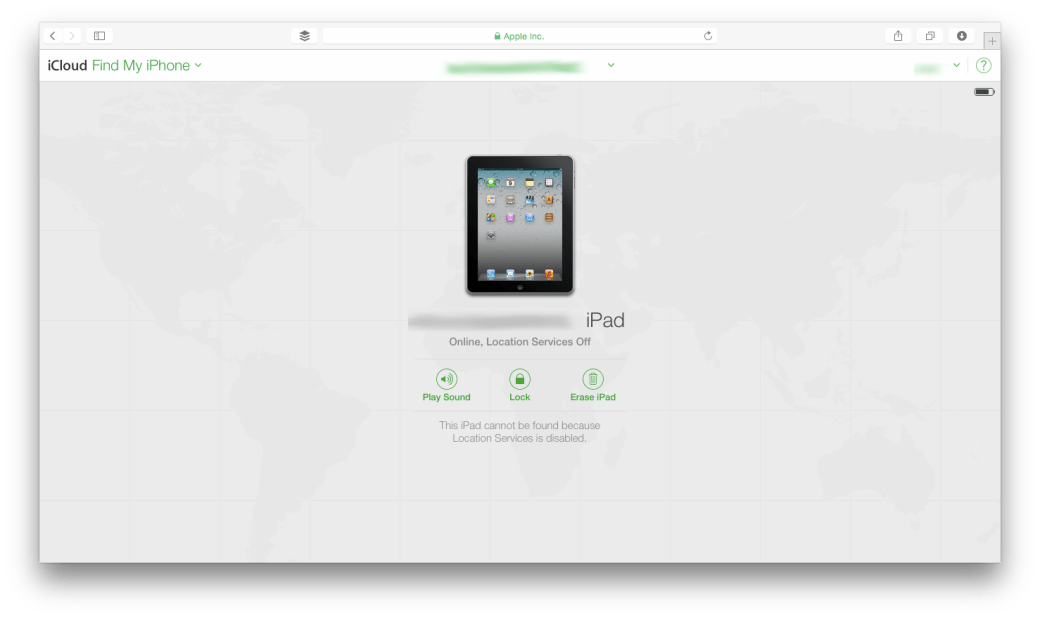
- The page should now load with a map of all your devices which are currently online.
- You can select a specific device & perform various actions such as: Play Sound, Lock Device, Erase Device. Select the activity appropriate for your needs.
Privacy
it is possible to restrict access to a particular set of data on your Mac. Through the privacy tab within System Preferences > Security & Privacy.
From here once can give access to your data at an application level. The kind of data that can be moderated are:
- Contacts
- Calendar events
- Location
- Reminders
- Facebook/Twitter credentials
Certain resources such as Location & Diagnostics are controlled by the administrator.
Firmware Password
A Firmware Password is a Logic Board level password. The main purpose of a Firmware Password is to prevent unauthorised modification of the startup process of a Mac. It doesn’t secure your data. But it makes sure that no one can gain access to your computer by changing the boot sequence. It becomes difficult for people to boot your Mac off a network or an external disk.
The process of setting up a Firmware Password is a bit technical. Please consult with a member from the IT Department of your company or contact an Apple Certified Support Professional. You can also approach an Apple Authorised Service Centre for the same. If you have forgotten one, then you will have to approach an Apple Authorised Service Centre for the same. Here are the steps.
