What is DocC?
In an earlier article we discussed how to create documentation for Swift projects and frameworks. In this article we will look at how to use DocC to generate documentation for shell scripts.
DocC is a documentation rendering tool built into Xcode that allows developers to easily build documentation for their code. Traditionally, developers would create documentation for their code via comments and then separately create documentation files for reference for other developers. DocC combines the 2 steps into a single step, making it easy for developers to write documentation and for others to read that documentation.
With a little modification we will be able to do the same for our shell scripts.
NOTE: We will be making use of concepts covered in an earlier article. Please make sure you go through that before going through the steps.
Adding DocC documentation for shell scripts
DocC is designed to help app developers easily create documentation for their code. So as such it is geared towards creating documentation for that. However, we can tweak things a little bit and use this process for our scripts.
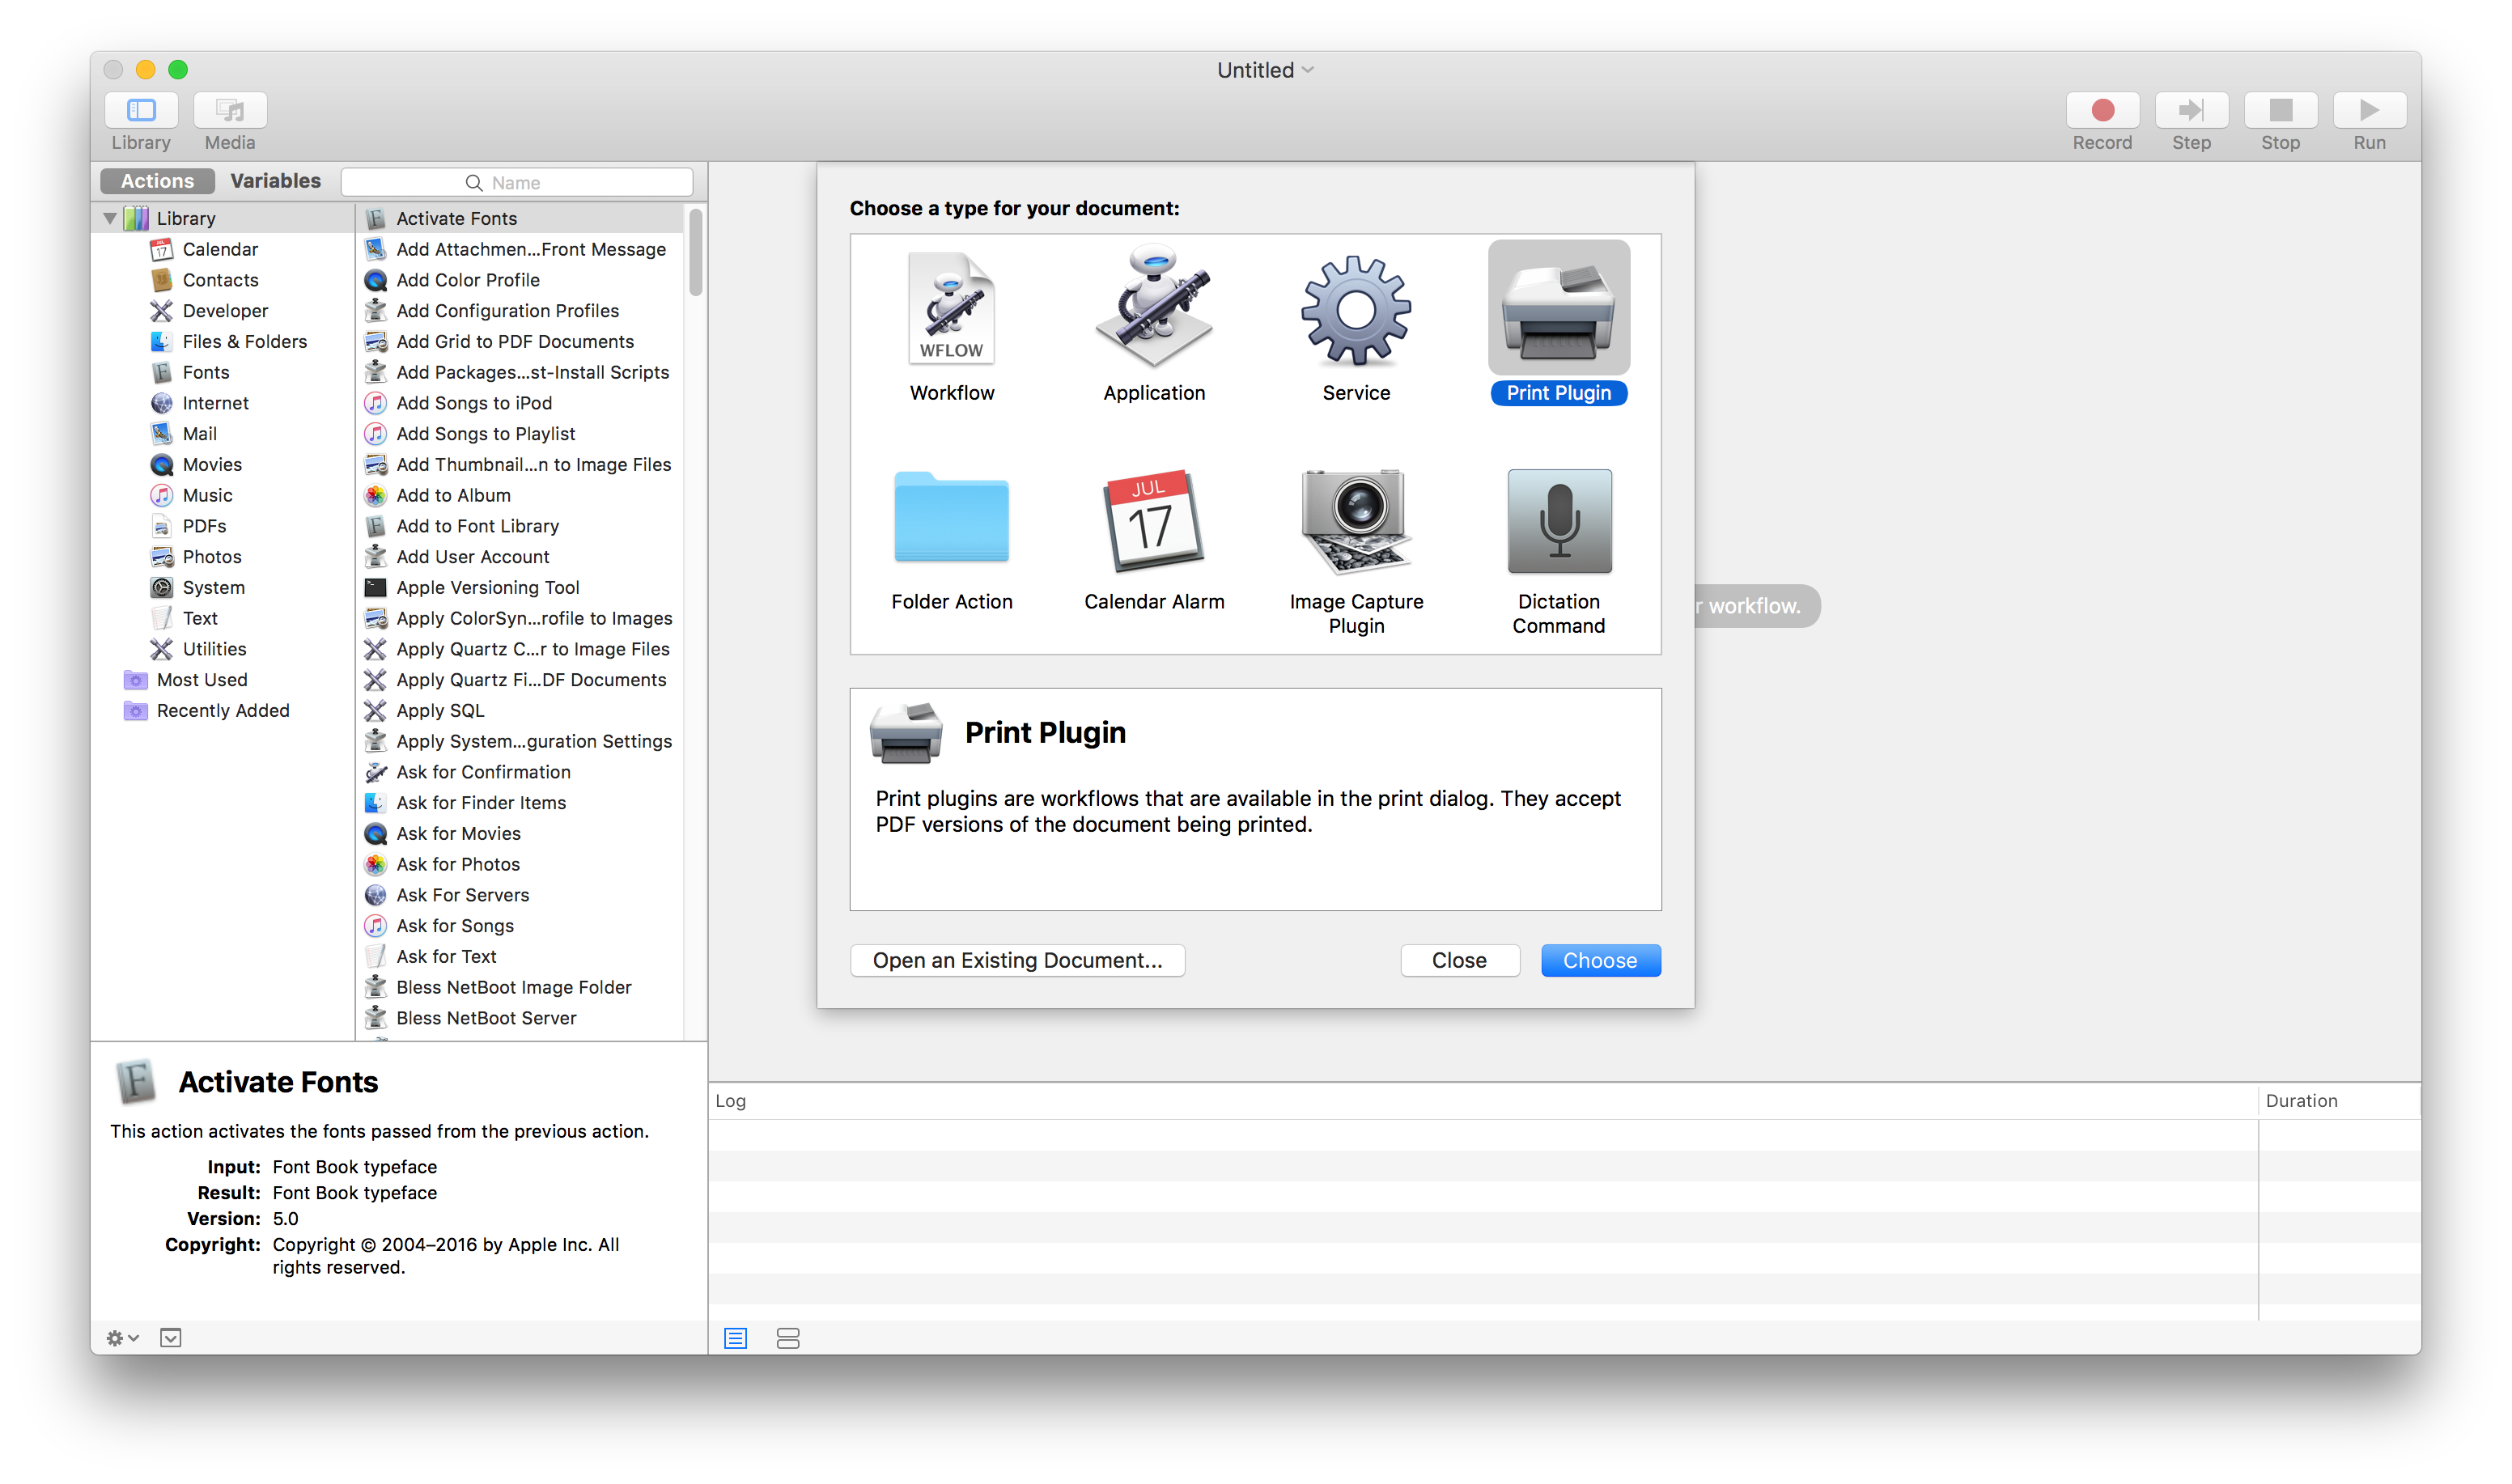
We will be creating a macOS App project.This will act as a starting point. Don’t worry! We won’t be writing any code. You do not need to learn any programming language for this. So lets begin.
- Open Xcode
- Create a new macOS app project. Select File > New > Project from the menu bar.
- Choose “Command line” from the template wizard.
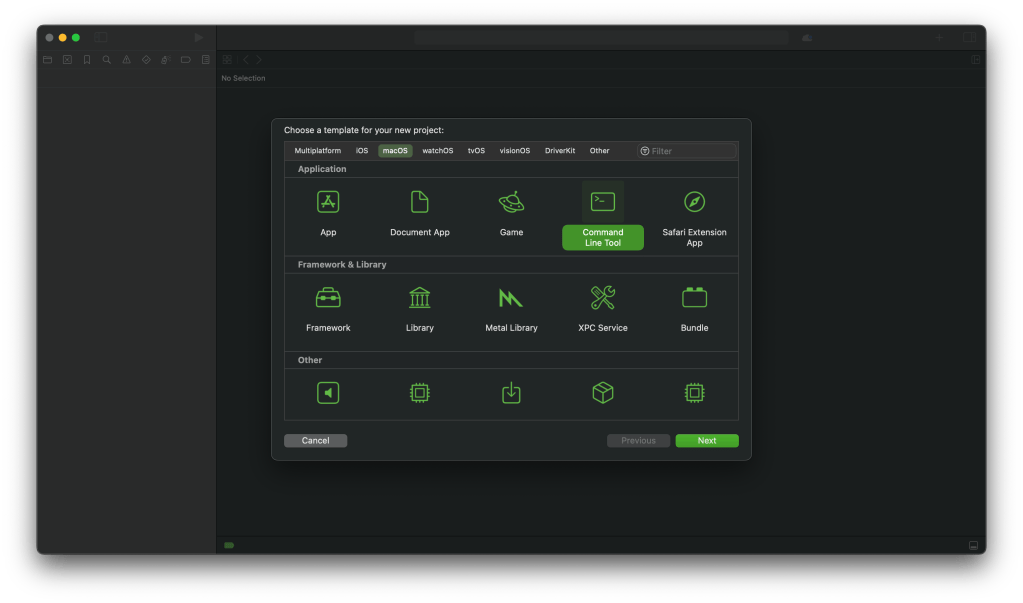
- Call it “FolderCreator” as thats the script we are using in this demo.
- Provide your company’s url in reverse format as the Organisation identifier. For example, com.companyname, org.organisationname, and so on.
- Choose the language as Swift. Save it on the desktop.
- Add the script file to your project. We will be using the script from our scripting series. You can find the script here.

- If we go ahead and build the documentation then we won’t find anything helpful. That’s because the documentation compiler is designed to read code and not our script. So it doesn’t contain anything useful. We will have to build the documentation for our script manually. Lets start by adding the documentation catalog. Select File > New > File, under the documentation heading select documentation catalog.

- We will add metadata that specifies that this is the documentation for a script. The formatting style is similar to that of markdown documents. Much like the readme files you find in github.
- We will add a description, a table listing out the different articles and a topics section that references articles.
- Finally we will add a tab navigator to reference external links and resources.
- Your completed file should look like:
# ``FolderCreator``

@Metadata {
   @TitleHeading("Shell Script")
}

This script is used to create folders.

## Overview

This script is used to create upto 3 folders on the computer.

| Topic        | Description  | Link |
| ---------    | --------------------------------------- | ---------- |
| License      | License information | <doc:LicenseInformation> |
| History      | Version history | <doc:History> |
| Usage        | How to use the script | <doc:Usage> |
| Requirements | Prerequisites for running the script | <doc:Requirements> |
| Installation | How to install the script | <doc:Installation> |
| Help | Getting help | <doc:Help> |
| Script | Script file for reference | <doc:ScriptFile> |
| Man page | Man page file for reference | <doc:ManPage> |
| Download files | Download the different script versions | <doc:DownloadFiles> |
| Learn scripting | Blog article on learning how to write scripts | <doc:LearnScripting> |

## Topics

### Articles
- <doc:Help>

### Downloads
- <doc:DownloadFiles>

### Tutorials
- <doc:LearnScripting>

@TabNavigator {
   @Tab("Github page") {
       [https://github.com/AmaranthineTech](https://github.com/AmaranthineTech)
   }


   @Tab("Blog") {
       [https://arunpatwardhan.com](https://arunpatwardhan.com)
   }


   @Tab("Youtube") {
       [Amaranthine YouTube Channel](https://www.youtube.com/@amaranthine5616)
   }
}
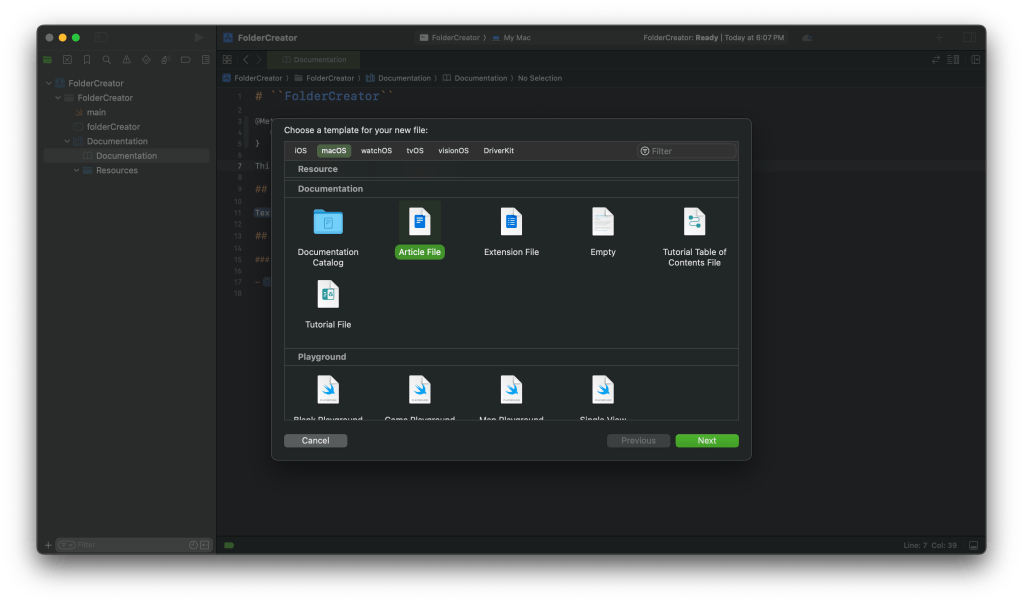
- Let us add and article. We will add an article for usage. Click on File > New > File. Select Article from the template wizard.
- In the overview add the information about using our script.
- Your completed file should look like this:
# Usage

How to run the script

## Overview

 - To create folders with default names run the command:
```shell
folderCreator
```
 - To define your own folder names:
```shell
folderCreator <folder1> <folder2> <folder3>
```

 - Available options  : Only the help option is available
 - Getting help       : Use the -h or the -help options to get more information. Or you can use the man command to view the man page. Provided the man page was installed along with the command.
```shell
folderCreator -h
folderCreator -help
man folderCreator
```
> Important: It is assumed that the man page for the script has been deployed before use. For more information on how to deploy the man page visit [Shell scripting in macOS – Part 10: Distribution](https://arunpatwardhan.com/2023/02/02/shell-scripting-in-macos-part-10-distribution/). You can also view the <doc:Installation> article.
- Similarly add articles for Help, History, License information, Requirements, Learn scripting, Installation, and Download files. You can look at the comments from the script to build the information.
- Add an article that will show the raw manpage file.
- Add the metadata to show sample code.
@Metadata {
    @PageKind(sampleCode)
    @CallToAction(url: "https://github.com/AmaranthineTech/ShellScripts/blob/main/folderCreator.1", purpose: link)
}
- Copy and paste the entire manpage in that file as an “md syntax.
- Your completed page should look like:
# ManPage

@Metadata {
    @PageKind(sampleCode)
    @CallToAction(url: "https://github.com/AmaranthineTech/ShellScripts/blob/main/folderCreator.1", purpose: link)
}

Man page file

## folderCreator man page

```md
.\"Copyright (c) 2015-2022 Amaranthine.  All Rights Reserved.
.\"
.\"
.Dd August 10, 2021
.Dt FOLDERCREATOR 1
.Os macOS 11
.Sh NAME
.Nm folderCreator
.Nd Folder creation utility
.\"
.\" ============================================================================
.\" ========================== BEGIN SYNOPSIS SECTION ==========================
.Sh SYNOPSIS
.Nm
.Ar "folder names"
.Op verbs
.\" =========================== END SYNOPSIS SECTION ===========================
.\" ============================================================================
.\"
.\" ============================================================================
.\" ======================== BEGIN DESCRIPTION SECTION =========================
.Sh DESCRIPTION
.Nm
creates 3 folders in the home folder.
In case the folder names are not provided then the command
will create folders with default names "Tools", "Reports", "Help".
.Pp
The user is also prompted via the graphical user interface for names that should be used for the folders.
This is optional and the user can cancel it.
.Pp
There is also the option of getting help via the help verb.
.Pp
- This script is intended for creating the custom folders that are required on all corporate computers.
.Pp
- Run this script on a new computer or a computer being reassigned to another employee.
.Pp
- This script can run on all computers.
.\" ----------------------------------------------------------------------------
.\" ------------------------- BEGIN TERMINOLOGY LIST ---------------------------
.Sh VERBS
.Bl -hang
.It Op Fl h help
Both the options are used to invoke the help documentation.
.It Op Fl v version
Both the options are used to get the version number of the
.Nm
command.
.El
.\" --------------------------- END TERMINOLOGY LIST ---------------------------
.\" ----------------------------------------------------------------------------
.\" ============================================================================
.\" ======================== BEGIN REQUIREMENTS SECTION ========================
.Sh REQUIREMENTS
The following are the minimum requirements to get the script running.
.Bl -hang -offset 4n -width "xxxxxxxxxxxx" -compact
.It Shell:
zsh
.It OS:
macOS Big Sur 11.4 or later
.It Dependencies:
None
.El
.Ev HOME
.\" ============================================================================
.\" ======================== BEGIN INSTALLATION SECTION ========================
.Sh INSTALLATION
.Nm
can be installed anywhere you wish.
However, there are certain locations that are recommended.
.Bl -hang -offset 4n -width "xxxxxxxxxxxx" -compact
.It Location:
/Library/Scripts/
.It Permissions:
rwx r-x r-x
.El
.\" ============================================================================
.\" ======================== BEGIN USAGE SECTION ========================
.Sh USAGE
.Nm
.Ar folder1
.Ar folder2
.Ar folder3
.Pp
Will create folders with your own names.
.Pp
.Nm
.Ar -h
OR
.Nm
.Ar -help
.Pp
Will invoke the help utility.
.Pp
.Nm
.Ar -v
OR
.Nm
.Ar -version
.Pp
Will print the version number in stdout.
.Ss GUI Interaction
In all cases the user is always prompted for entering folder names via the graphical user interface.
Therefore this script triggers a gui popup.
In case this is not the desired behavior then the appropriate lines of code will need to be commented out.
.\" ============================================================================
.\" ======================== BEGIN WARNING/CAUTION SECTION ========================
.Sh WARNING/CAUTION
.Nm
does not perform any validation of names.
The only options that
.Nm
accepts are
.Ar -h
and
.Ar -help
verbs or the
.Ar -v
and
.Ar -version
verbs.
If the script does not see the
.Ar -h
,
.Ar -help
or the
.Ar -v
,
.Ar -version
options then it will assume that the data being passed in is the name of the folder.
The user of the
.Nm
command must ensure that the desired folder names are passed in.
The user will also be prompted, via the graphical user interface, if he/she wishes to provide the names for the folders.
If yes, then there will be subsequent
prompts asking for the folder names.
.\" ============================================================================
.\" ======================== BEGIN EXIT STATUS SECTION =========================
.Sh EXIT STATUS
In most situations,
.Nm
exits 0 on success
.\" ============================================================================
.\" ======================== BEGIN EXAMPLES SECTION ========================
.Sh EXAMPLES
.Nm
.Ar Resources
.Ar Results
.Ar Assistant
.Pp
This will create 3 folders
.Sy Resources
,
.Sy Results
,
.Sy Assistant
,
in the user's home folder.
.Pp
.Nm
.Pp
This will create 3 folders with the default names
.Pp
.Nm
.Ar Apps
.Pp
This will use the
.Sy Apps
name for the first folder but the default names for the last 2 folders.
.\" ============================================================================
.\" ======================== BEGIN DIAGNOSTICS SECTION ========================
.Sh DIAGNOSTICS
The script produces a log file called
.Sy ~/Library/Logs/folderCreator_log_v1-x.log
.Pp
This file is typically located in the user's home folder log folder.
The x represents the version number of
.Nm
.Pp
You can view the logs for each respective version.
.\" ============================================================================
.\" ======================== BEGIN COPYRIGHT SECTION ========================
.Sh COPYRIGHT
Copyright (c) Amaranthine 2015-2021.
All rights reserved.
https://amaranthine.in
.\" ============================================================================
.\" ======================== BEGIN CONTACT SECTION ========================
.Sh CONTACT DETAILS
.An Author: Arun Patwardhan
.Pp
Website: https://amaranthine.in
.Pp
Email: arun@amaranthine.co.in

```
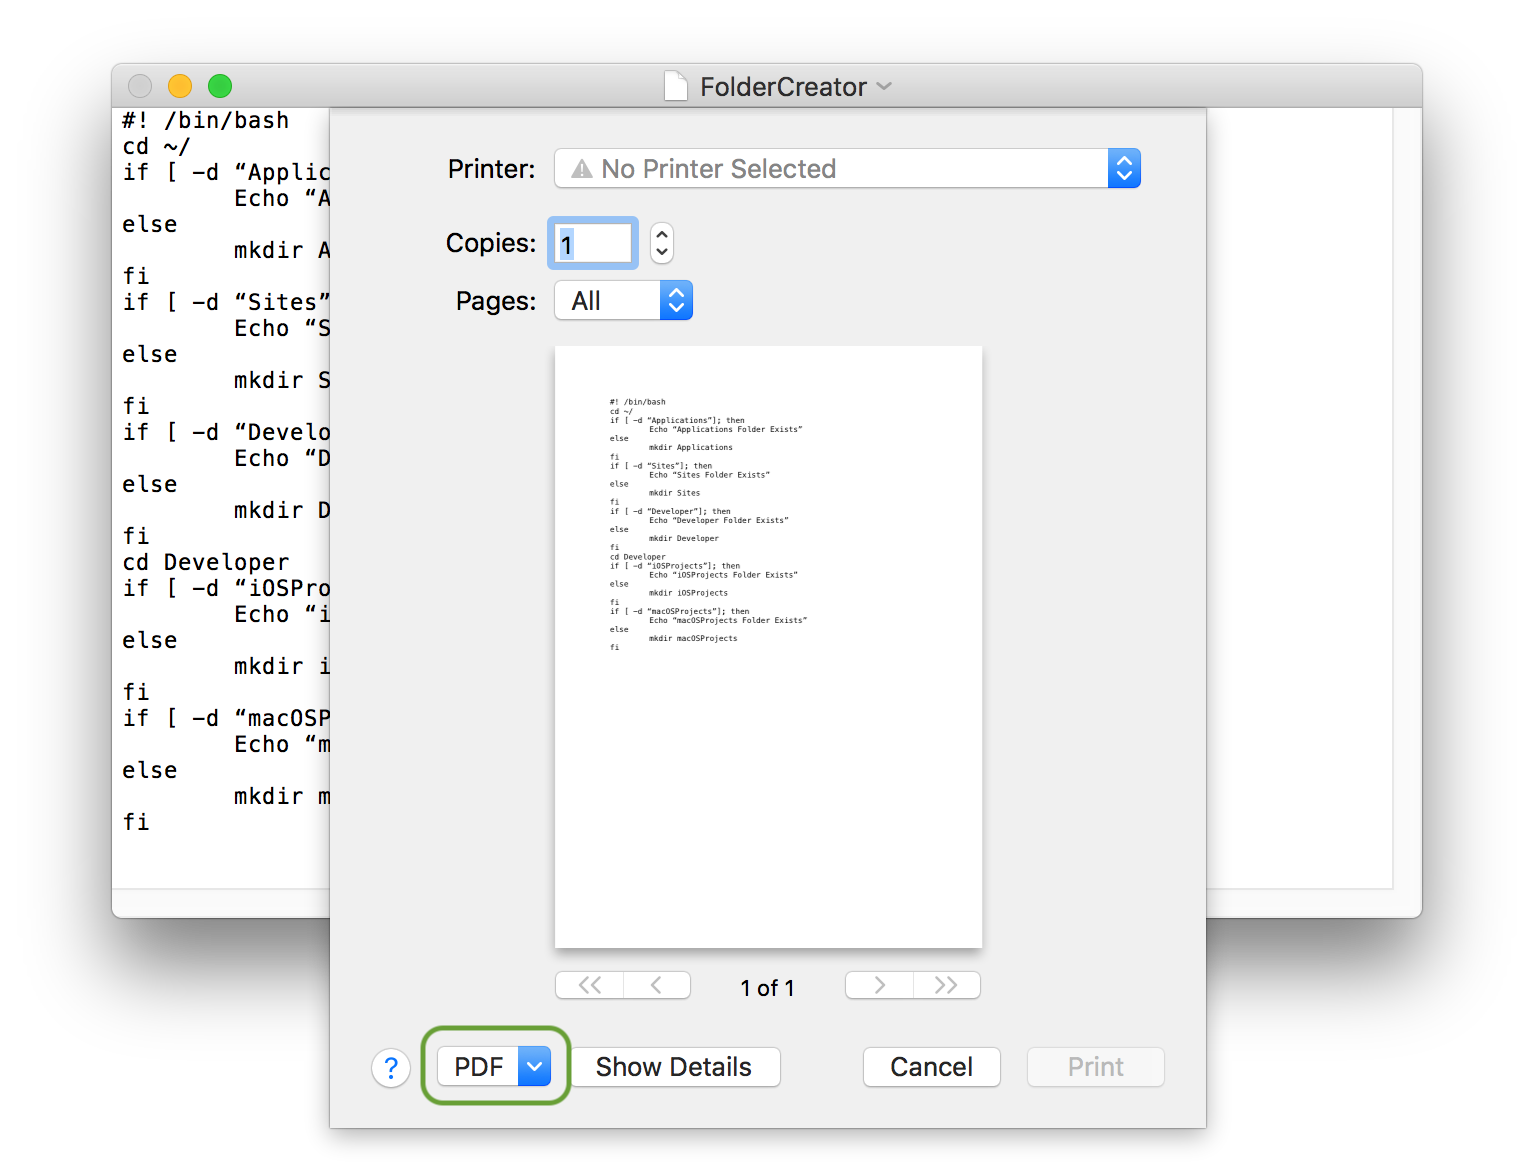
- Also create a page to show the actual script. This is useful. Anyone reading our documentation will also quickly be able to see our script.
And thats it. We have all the necessary information in there. You can download my completed project from the section below. Use it to compare the documentation that you wrote.
Distributing the documentation
There are several ways to distribute the documentation. I have covered those in the previous article. The best option is to host it on a website and make it available to anyone who wishes to use it. That is what I have done. You can view the website here: https://amaranthinescript.github.io/documentation/foldercreator
Use with other scripts
The good thing about the how we created our documentation is that those steps apply to all other kinds of scripts. Instead of our shell script you can add any other script such as AppleScript in there and create documentation for the same.
Yes the process is a bit manual but it does allow script writers to quickly create highly readable documentation.
Download the sample code
You can download the sample code from here.